

View findings
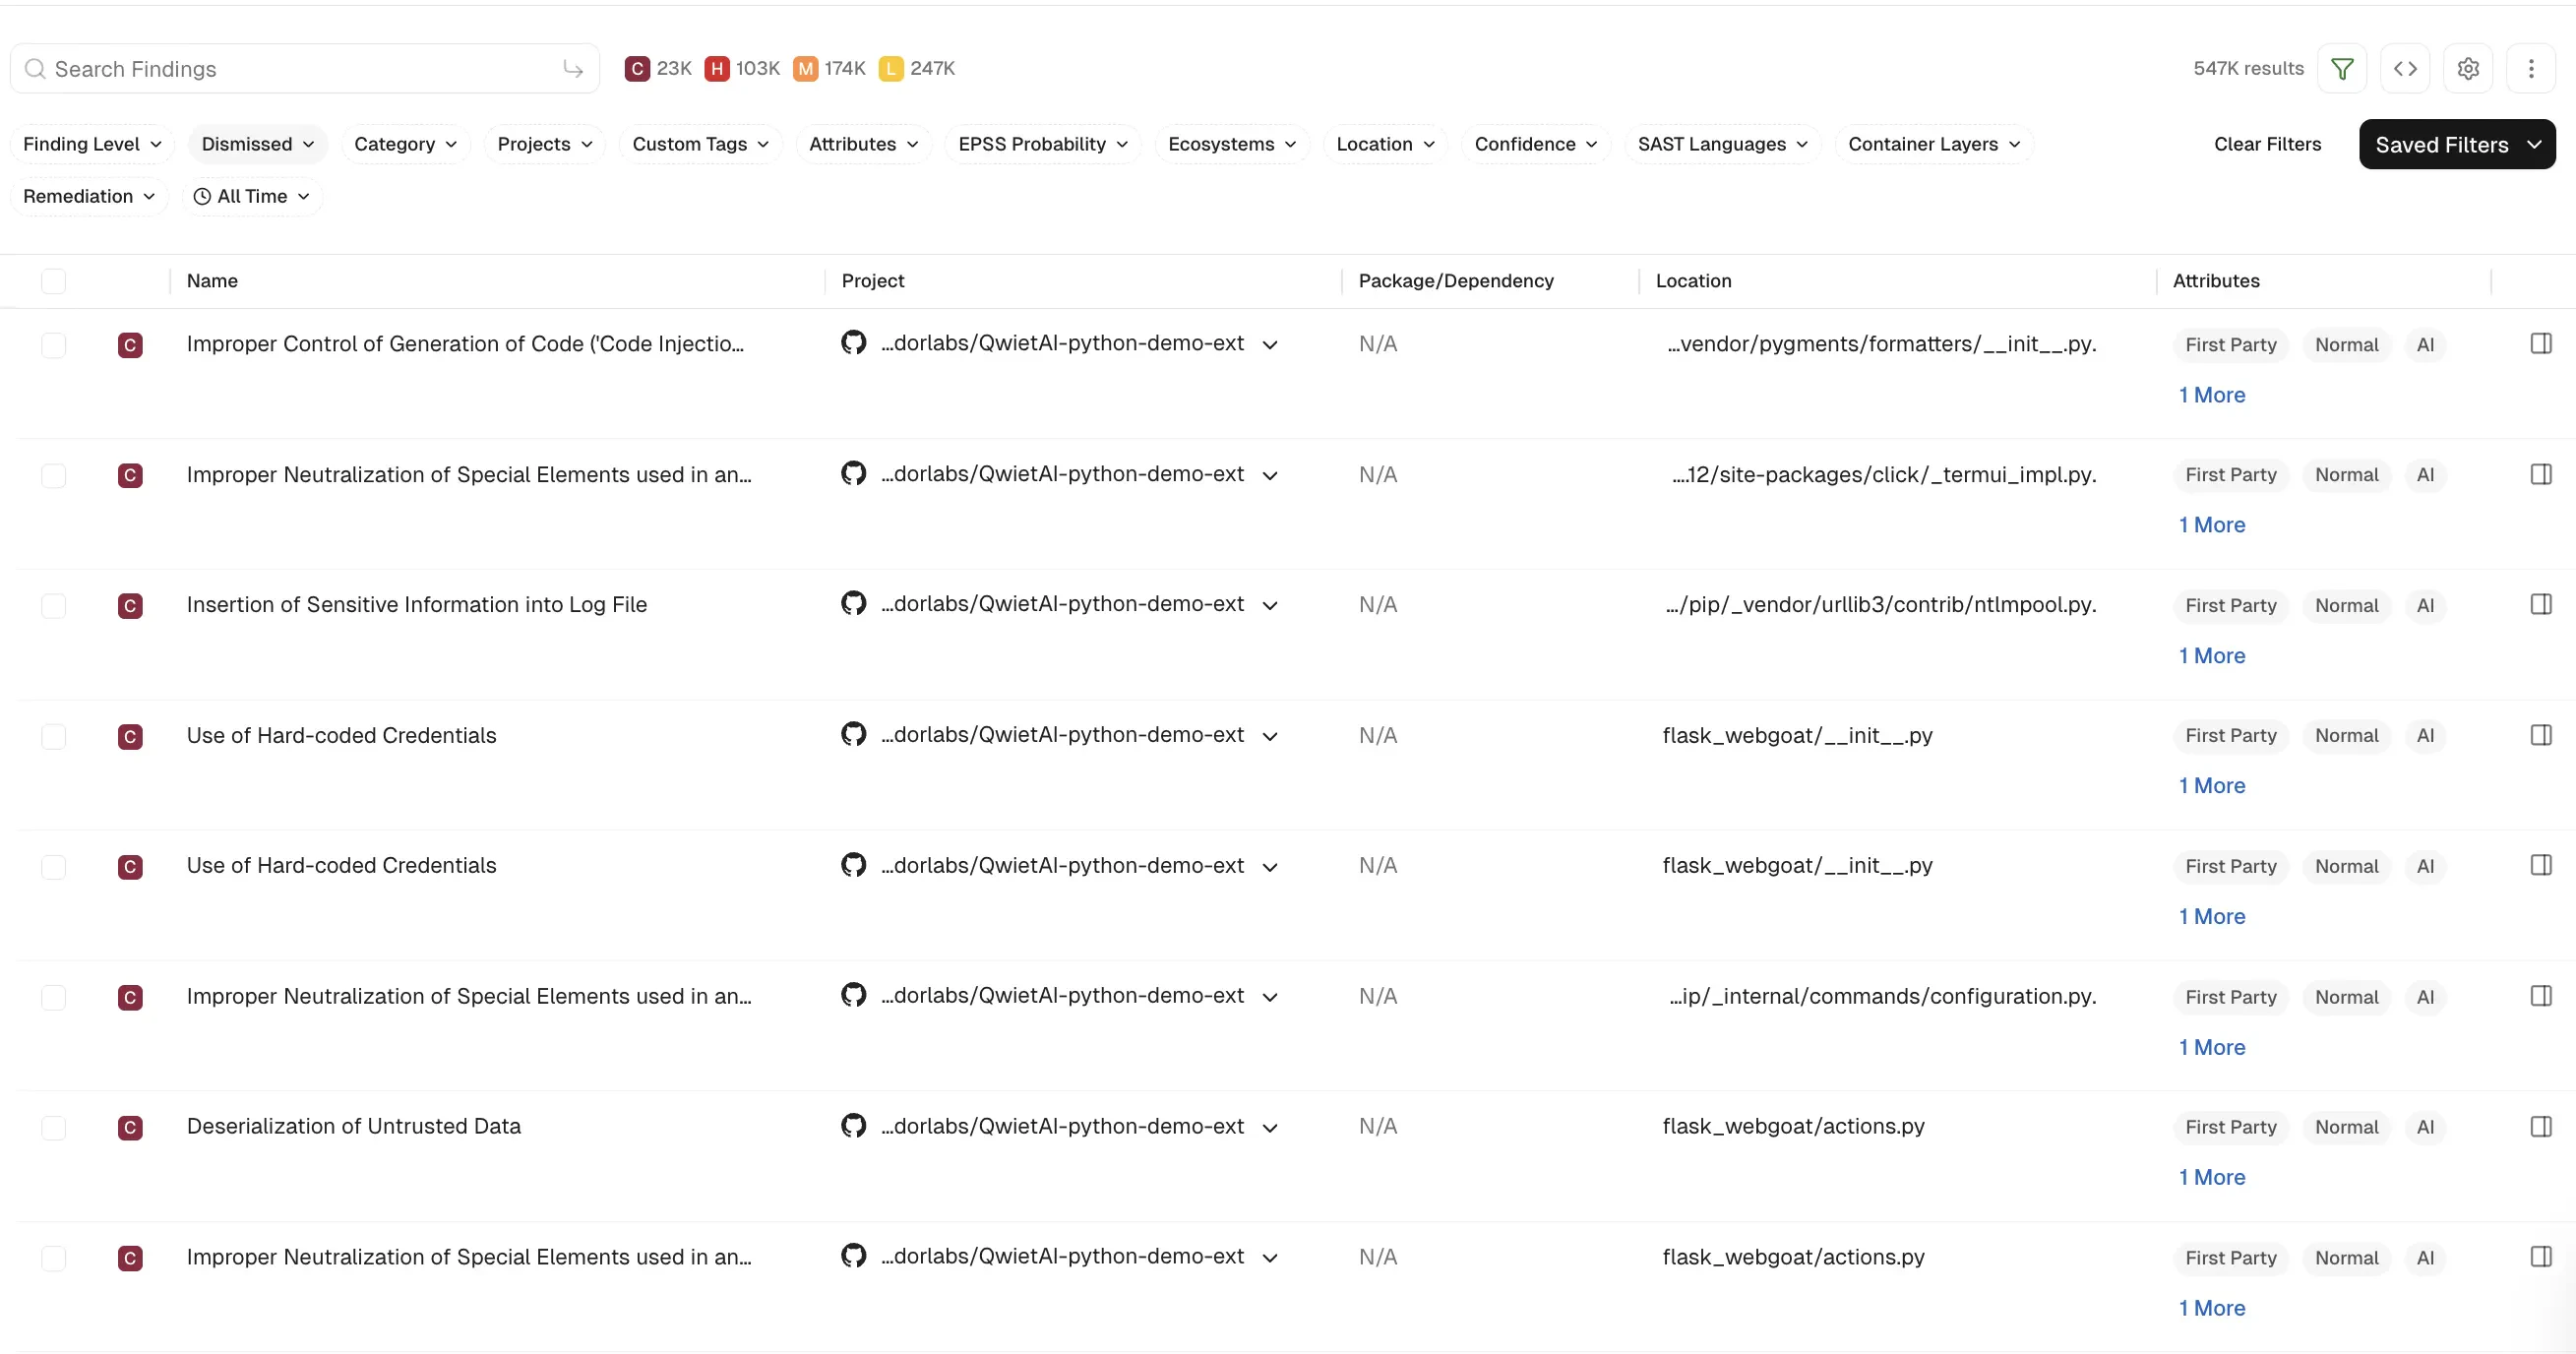
To view different types of findings associated with all projects or packages in your tenant:- Select Findings from the left sidebar.
- Search for findings using basic filters.
- Use Saved Filters to create and save your frequently used searches, helping you save time.
- Toggle Advanced and search for findings using advanced filters.
- Use Table preferences to select the columns you want to view and customize the appearance of the findings table.
-
Select a finding to view the following details:
- Project metadata
- Risk details and remediation guidance
- Notifications associated with the finding and Jira ticket links
- Personalized notes for each finding. You can view notes on findings if you have tenant access. Only users with Admin or Code Scanner role can add or edit notes. See authorization roles to learn about roles and permissions.
- To apply exceptions to findings, select findings and click Actions > Add Exception.
- To export findings, select the findings, and click Actions > Export Selected or Export All.
View findings associated with a project
To view the findings associated with a project:- Select Projects from the left sidebar.
- Select the project for which you want to view the findings. The Findings page includes the list of findings specific to the project.
- Review the list of findings. Click the finding to see its details.
- Use Grouped By to group findings by attributes such as dependency, location, package, CWE, tags, code owner or rule name to filter and manage them collectively.
-
A drop-down menu at the top left of the page shows the repository’s default branch. Choose a different branch to view its findings.
-
In the following example,
mainis the default branch. Applying filters with the context ID formainshows results specific to branch. To scan from the default branch, run the following command:
-
Similarly, if there is another branch named
local-branch, switching to that branch shows results specific to the branch. To scan the branch, run the following command:
-
In the following example,
Finding attributes
Finding attributes are characteristics or properties associated with each discovered issue or result obtained from a scan. These attributes could include the following details and metadata.Filter findings
Use filters to narrow findings and focus on the results most relevant to your workflow. Filters help you organize findings by attributes such as severity, category, project, status, repository context, and other finding metadata so that you can investigate, triage, and remediate findings more efficiently. You can use the following filter types to manage findings effectively.- Basic filters: Use the preset filters to quickly narrow findings using common attributes such as severity, category, project, and status.
- Advanced filters: Use advanced filters to create complex queries and combine multiple conditions based on repository context, branches, tags, and other finding attributes.