

Configure Outpost integration
To set up Outpost in your environment, you need to configure the integration through the Endor Labs user interface and deploy it to your Kubernetes cluster. Perform the following steps to configure Outpost:- Select User menu > Integrations from the left sidebar.
-
Click Configure under On-Prem Integration.
-
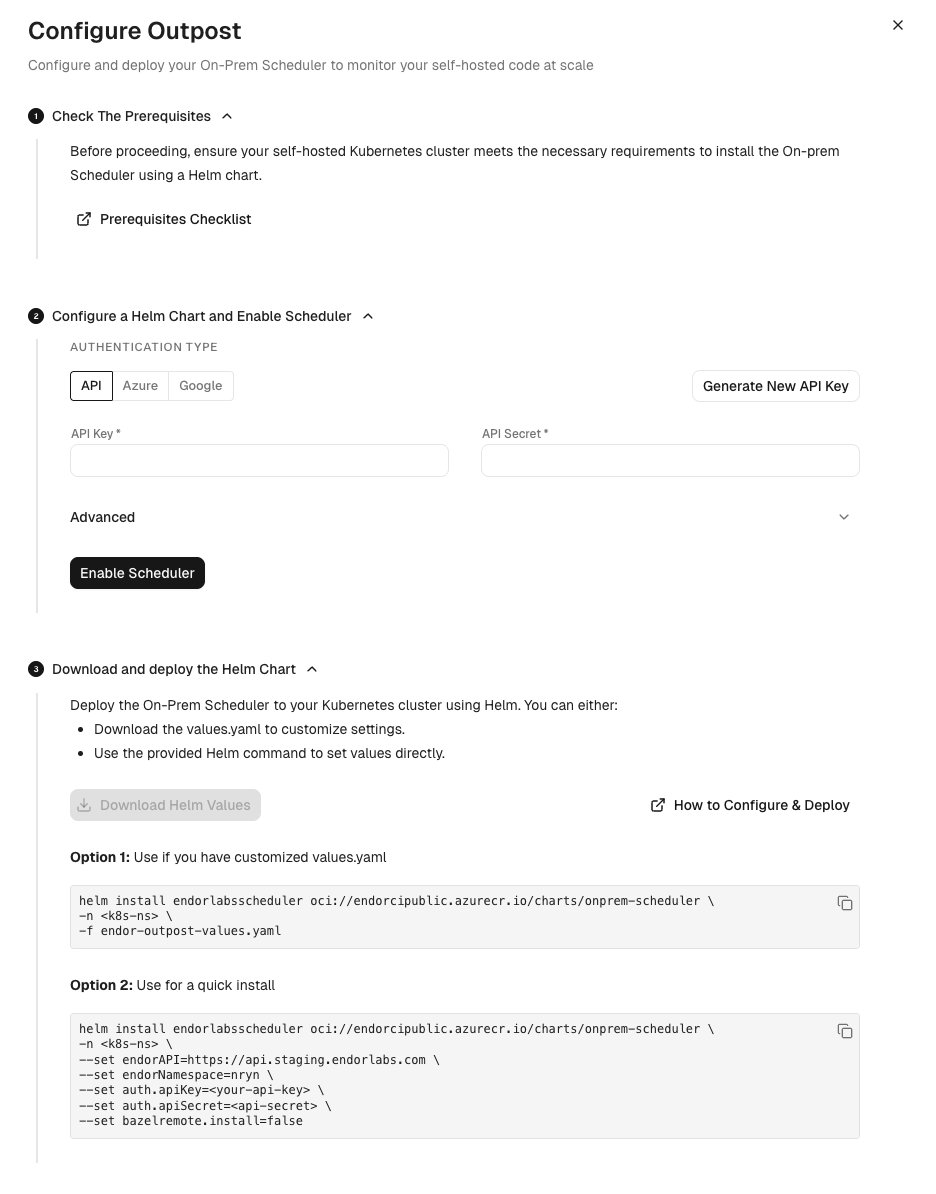
Choose from the following authentication methods:
-
API: Use the Endor Labs API key authentication for Outpost. You need to enter the API key and API secret. See API key authentication for Outpost for more information.
If you use Endor Labs with an EU tenant, use
https://api.eu.endorlabs.cominstead ofhttps://api.endorlabs.com. - Azure: Use the Azure managed identity authentication for Outpost. You need to enter the Azure managed identity client ID. See Azure Managed Identity authentication for Outpost for more information.
- Google: Use the GCP service account authentication for Outpost. You need to enter the GCP service account name. See GCP Service Account authentication for Outpost for more information.
-
API: Use the Endor Labs API key authentication for Outpost. You need to enter the API key and API secret. See API key authentication for Outpost for more information.
-
Click Advanced to configure the following parameters:
- Select Enable Build Tool Caching to enable build tool caching. Bazel remote cache is installed and the build tools are cached in the cluster.
- Enter the number of concurrent scans that Outpost can run in Max Running Scans.
- Enter the maximum duration of a scan in Max Duration.
- Click Enable Scheduler to store the configuration and enable Outpost.
-
Click Download Helm Values to download the
endor-outpost-values.yamlfile. You can choose to customize the values before you deploy Outpost. You can also extract the chart fromoci://endorcipublic.azurecr.io/charts/onprem-schedulerand refer the defaultvalues.yamlfor all the available options. See Helm Chart Values for more information. -
Run the following command to deploy Outpost in your Kubernetes cluster.
The command installs the Outpost scheduler on your Kubernetes cluster.ImportantIf you use GCP service account authentication, you need to configure annotations for the service account in Helm values.Add the following annotations to the Helm chart values before you run the Helm install command.If you run the Helm command directly, update the generated Helm command to set the annotations with the following options:For example:The annotations are automatically added to the Helm chart values if you choose Azure managed identity authentication.
-
If you do not want to customize the values, the Helm command with your configured values appears in the user interface. You can copy the command and run it on your Kubernetes cluster.
For example, the following command appears on the user interface when you configure the integration on the
endorKubernetes namespace with the Azure managed identity authentication and build tool caching enabled. The root Endor Labs namespace isendor.You can copy the command and run it on your Kubernetes cluster to deploy Outpost.
Update Outpost configuration
To update the Outpost configuration, you need to uninstall the existing Helm chart and install a new one with the updated values. Run the following command to uninstall the existing Helm chart.endor-outpost-values.yaml file. We recommend that you update the configuration in the user interface even if you manually update and install the Helm chart.
Perform the following steps to update the configuration in the user interface:
- Select User menu > Integrations from the left sidebar.
- Click Manage under On-Prem Integration.
- Update the configuration and click Enable Scheduler to update the configuration.
- Apply the updated values with the
helm installcommand as described in Configure Outpost integration.
View Outpost logs
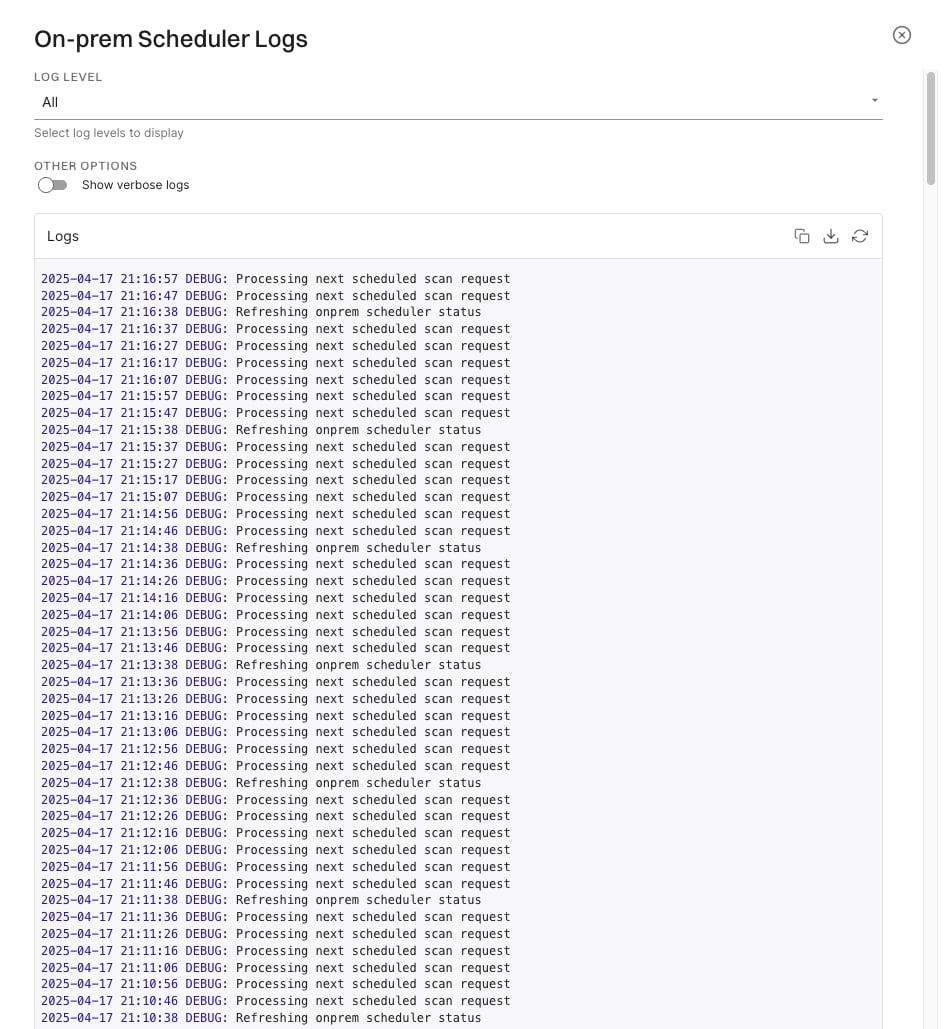
You can view the Outpost logs in the Endor Labs platform. Perform the following steps to view the Outpost logs:- Select User menu > Integrations from the left sidebar.
-
Click View Logs under On-Prem Integration.
Helm Chart Values
Run the following command to extract the default values for the Outpost Helm chart.values.yaml file in the onprem-scheduler directory contains the default values for the Outpost Helm chart.
The following yaml file shows the default values in the values.yaml file.
If you use Endor Labs with an EU tenant, use
https://api.eu.endorlabs.com instead of https://api.endorlabs.com.Post-deployment configuration
After deploying Outpost to your Kubernetes cluster, you need to set up the appropriate Endor Labs app to integrate with your source code management system. This integration enables Outpost to scan your repositories. You can install Endor Labs apps for the following source code managers:- GitHub Cloud
- GitHub Enterprise
- GitLab Cloud and self-hosted
- Bitbucket Data Center
- Bitbucket Cloud
- Azure DevOps Cloud
Configure Outpost on GitLab self-hosted with self-signed certificates
When you configure Outpost on GitLab self-hosted with self-signed certificates, you need to add the self-signed certificate to the Outpost Helm chart values.Proper certificate validation is crucial for secure communication between Outpost and your GitLab self-hosted instance. Ensure that the self-signed certificate is valid and properly configured to prevent any security issues.
- Download the self-signed certificate from the GitLab self-hosted instance.
-
Create a
kubectl configmapusing the certificate in the Outpost cluster.For example: -
Configure Outpost and download
endor-outpost-values.yamlfile. -
Modify the values yaml file to volume mount the certificate in the scheduler and endorctl image.
If you use Endor Labs with an EU tenant, use
https://api.eu.endorlabs.cominstead ofhttps://api.endorlabs.com. -
Run the following command to deploy Outpost in your Kubernetes cluster.
- Install the GitLab App.
Configure Outpost on GitHub Enterprise Server with self-signed certificates
When you configure Outpost on GitHub Enterprise Server with self-signed certificates, you need to add the self-signed certificate to the Outpost Helm chart values.Proper certificate validation is crucial for secure communication between Outpost and your GitHub Enterprise Server instance. Ensure that the self-signed certificate is valid and properly configured to prevent any security issues.
- Download the self-signed certificate from the GitHub Enterprise Server instance.
-
Check if a
ConfigMapfor the GitHub certificate already exists. -
If a previous certificate exists, delete it before creating a new one.
-
Create a new
ConfigMapwith the certificate in the Outpost cluster.For example: -
Verify that the
ConfigMaphas been created: -
Modify the values yaml file to volume mount the certificate in the scheduler and endorctl image. Mount your cert file under
/etc/ssl/certsdirectory.If you use Endor Labs with an EU tenant, usehttps://api.eu.endorlabs.cominstead ofhttps://api.endorlabs.com. -
Install Helm for outpost configuration.
-
Verify certificate in Pod and Confirm that the certificate is correctly mounted in the pods:
- Install the GitHub Enterprise Server App.