

Complete the prerequisites
Ensure that you complete the following prerequisites before you proceed.Set up an Endor Labs tenant
You must have an Endor Labs tenant set up for your organization. You can also set up namespaces according to your requirements. See Set up namespaces for more information.Configure Endor Labs authentication
Configure an API key and secret for authentication. See managing API keys for more information on generating an API key for Endor Labs. Store API key and secret as environment variables,ENDOR_API_CREDENTIALS_KEY and ENDOR_API_CREDENTIALS_SECRET.
Enable Advanced Security in Azure
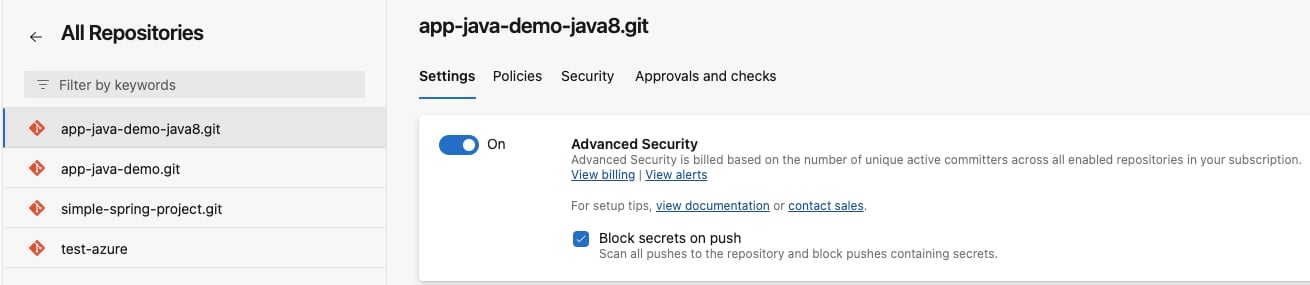
To view scan results directly in Azure DevOps, enable Advanced Security in your Azure repository.- Log in to Azure and open Project Settings.
- Navigate to Repos > Repositories in the left navigation panel.
- Select your repository.
-
Enable Advanced Security.
Integrate Endor Labs with Azure pipelines with the Azure extension
To integrate Endor Labs with Azure pipelines, you need to set up the Azure extension. After you set up the extension, you can configure your pipeline to use Endor Labs.The Endor Labs Azure extension requires
code read, build read, and execute permissions.Set up the Azure extension
- Install the Endor Labs extension from the Visual Studio Marketplace.
- Log in Azure DevOps and select your project.
- Select Project Settings from the left sidebar.
- Select Service Connections under Pipelines.
- Click Create service connection.
- Select Endor Labs and click Next.
-
Enter
https://api.endorlabs.comas the Server URL.If you use Endor Labs with an EU tenant, usehttps://api.eu.endorlabs.cominstead ofhttps://api.endorlabs.com. - Enter the API Key and API Secret that you created.
- Enter the service connection name. The name you enter here is to be used inside the Azure pipeline.
- Optionally, you can enter service management reference and description.
- Select Grant access permission to all pipelines to provide access to the Endor Labs service connection to your pipelines.
- Click Save.
Configure Azure pipeline to use Endor Labs
ImportantAzure Pipelines often check out commits in a detached HEAD state, which can lead to fragmented branch tracking in Endor Labs. See Set up branch tracking in Azure Pipelines to configure proper branch context.
-
Create
azure-pipelines.ymlfile in your project, if it doesn’t exist and enter values according to your requirement. -
In the
azure-pipelines.ymlfile, enter the task,EndorLabsScan@0, with the service connection name, Endor Labs namespace, and the SARIF file name. For example: -
Enter the task,
AdvancedSecurity-Publish@1, if you wish to publish the scan results, which you can view under the Advanced Security tab in Azure DevOps.
Endor Labs scan parameters
You can use the following input parameters in theEndorLabsScan@0 task.
To enable an AI SAST scan, set the
additionalArgs parameter to --ai-sast.Example Workflow
The following example workflow initiates a scan where all dependencies are scanned along with secrets. The findings are tagged withAzure. The scan generates a SARIF file and uploads to GitHub Advanced Security.
View scan results in Azure
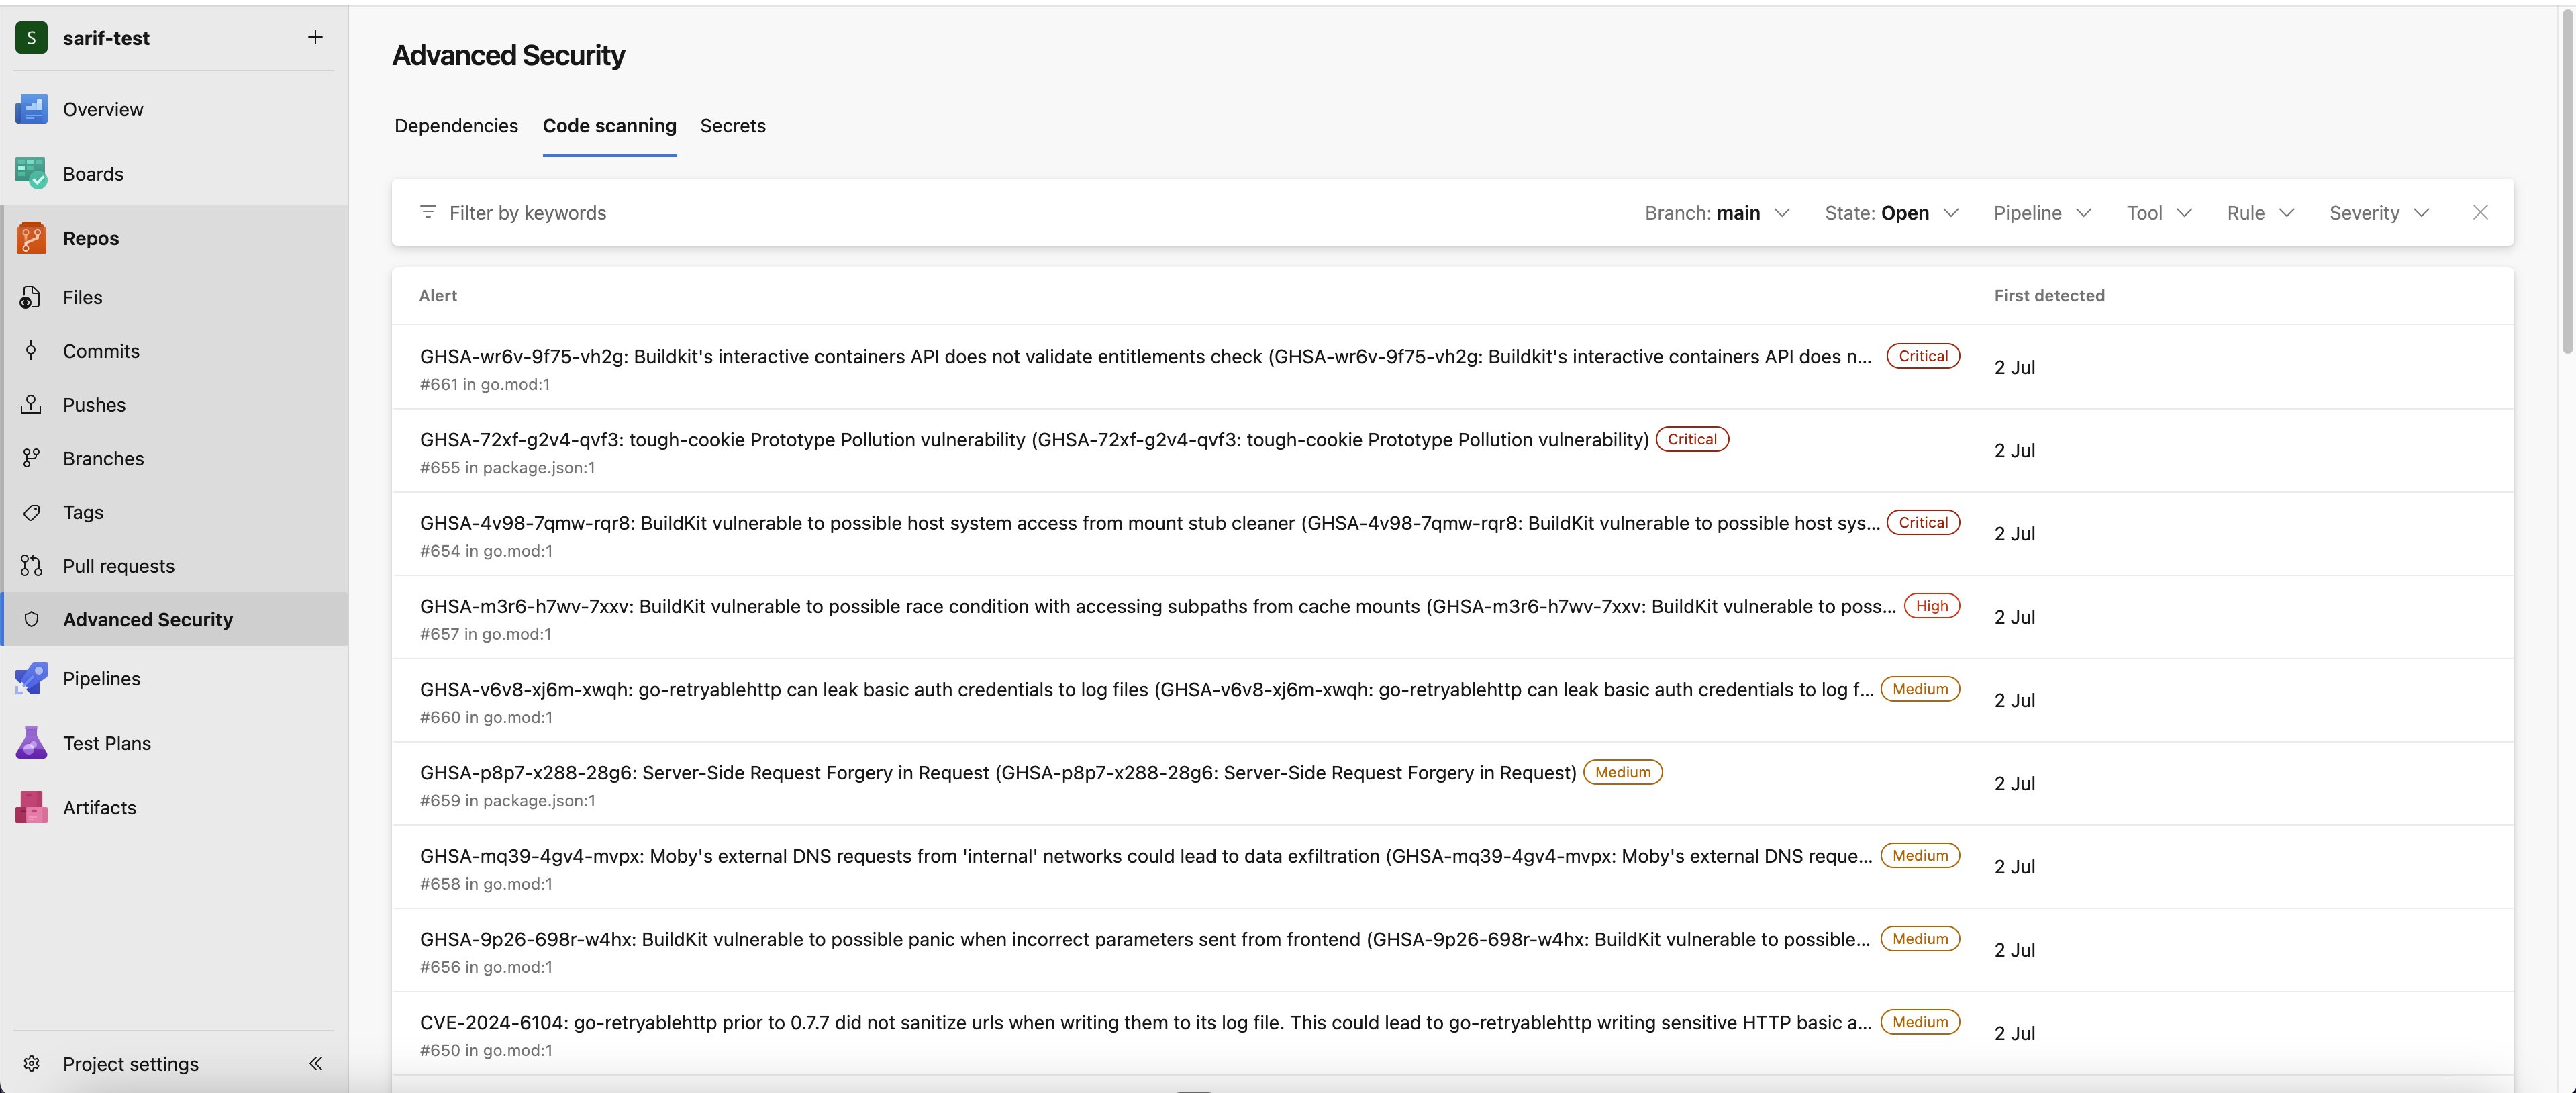
After the pipeline runs, you can view the scan results in Azure.- Log in to Azure and navigate to your projects.
-
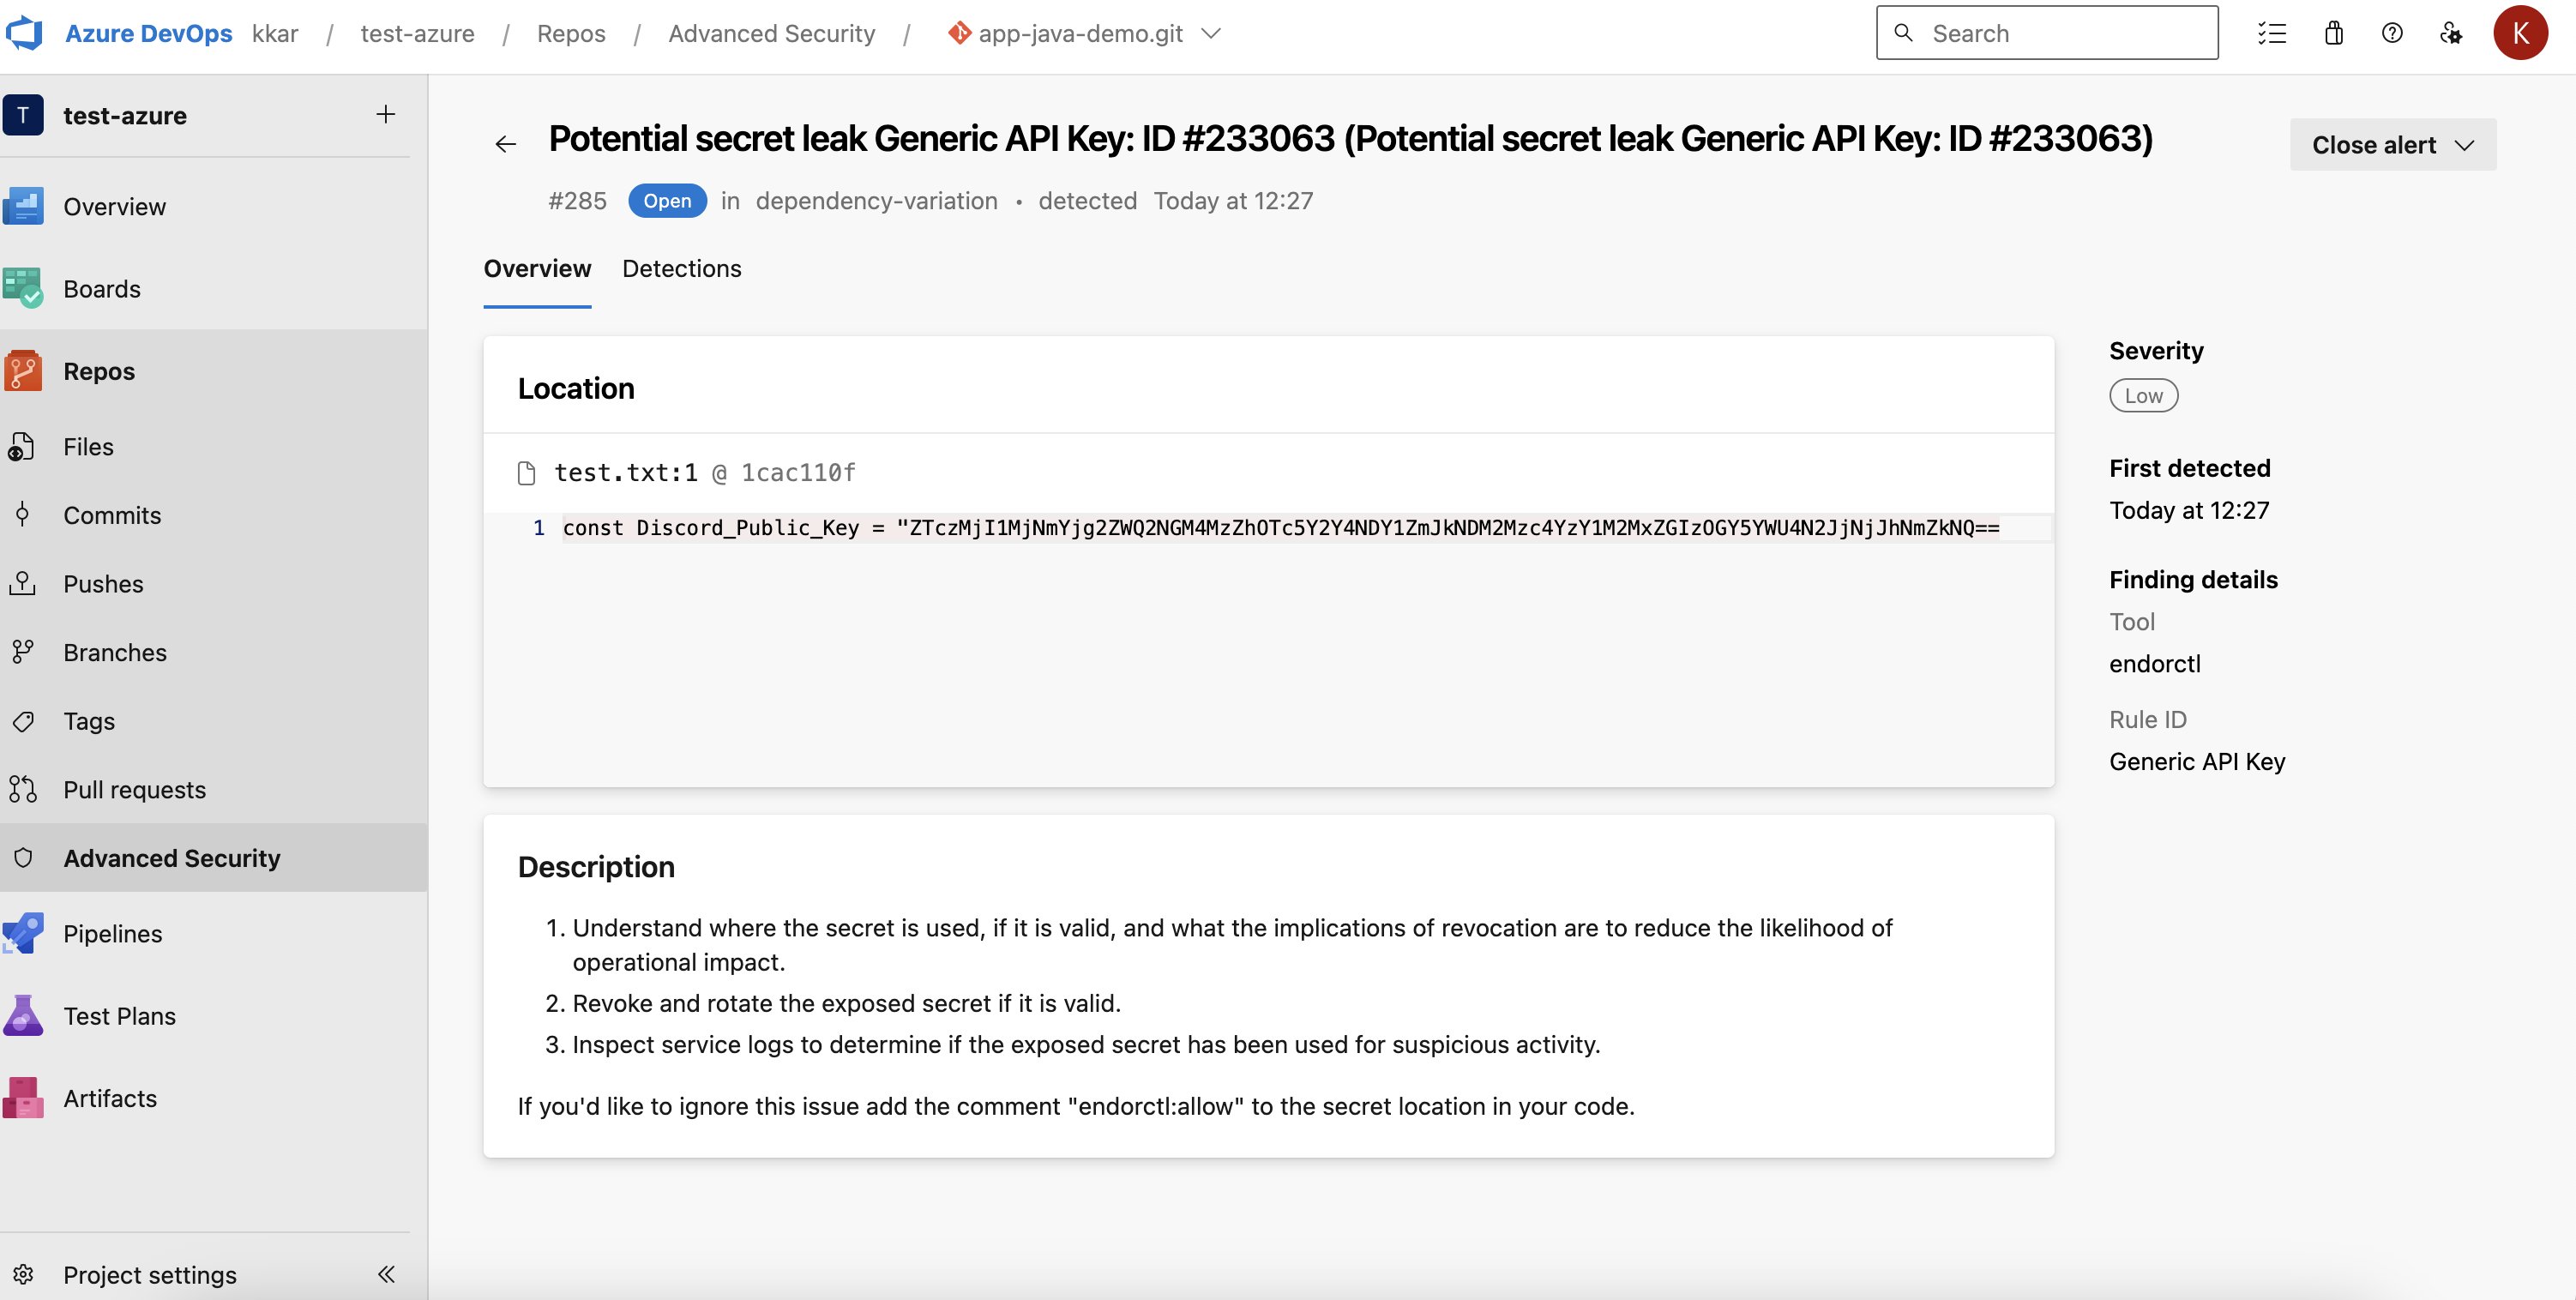
Select Repos > Advanced Security to view the scan results.
-
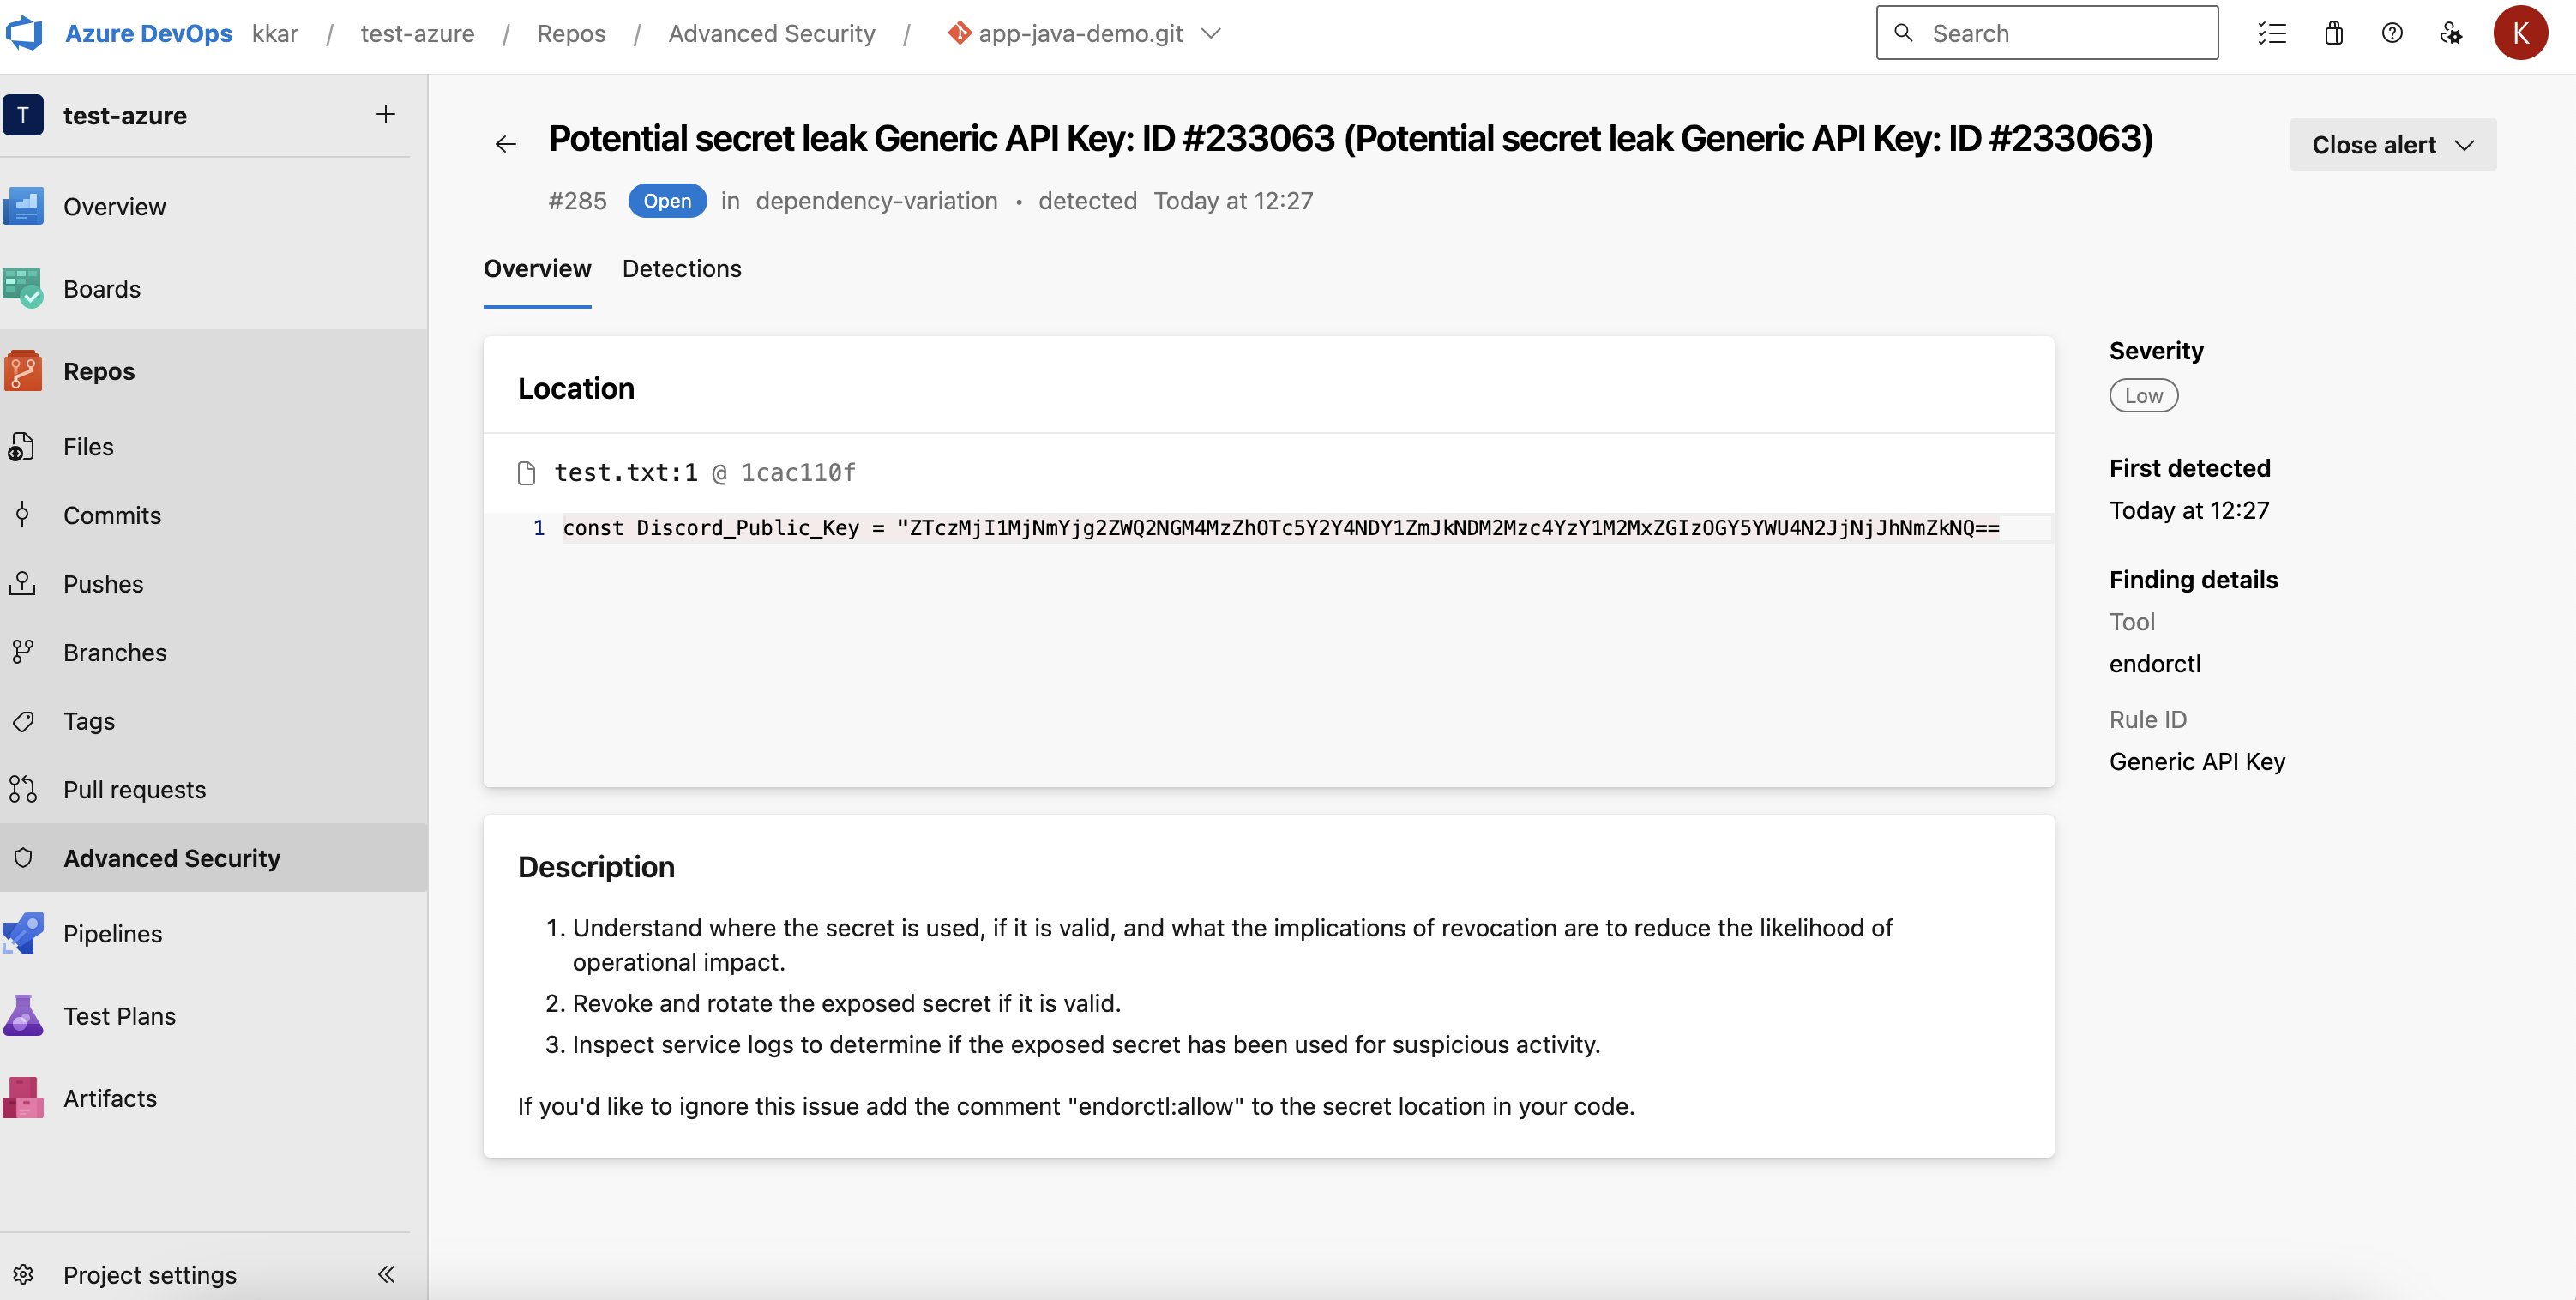
Click an alert to view more details.
-
If you ran endorctl with
--secretsflag, you can view if there are any secret leaks.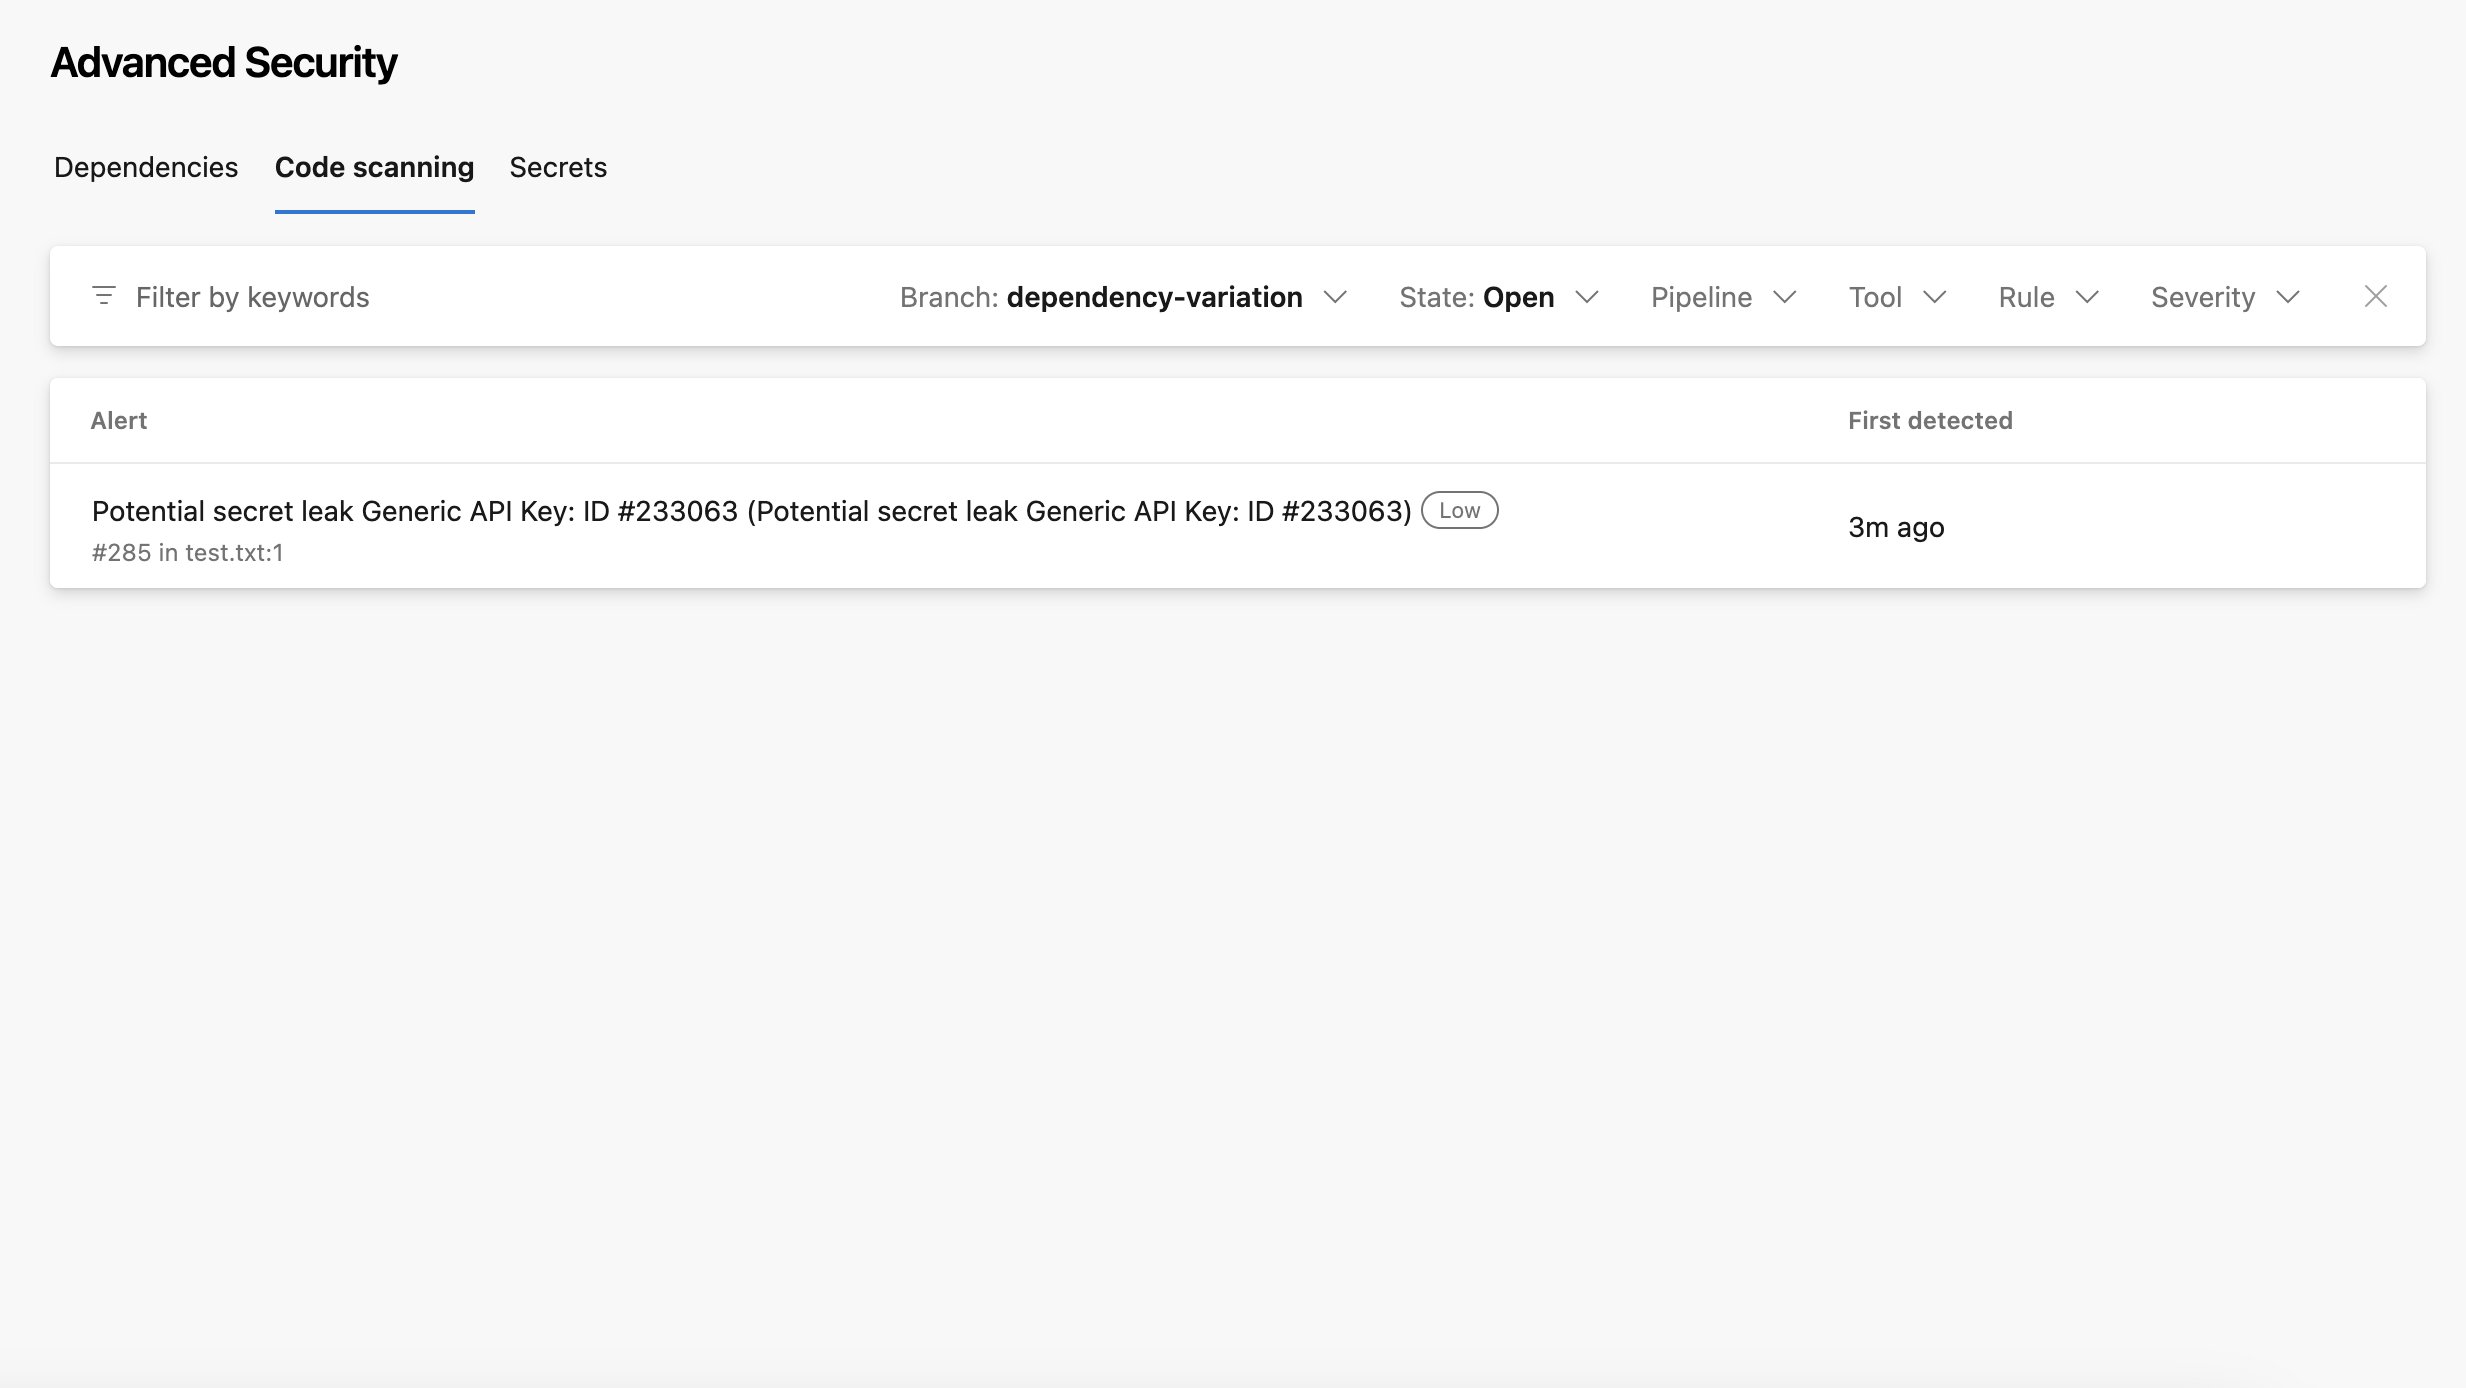
Block pull requests on pipeline scan findings
A pipeline scan reports findings, but it does not block a merge on its own. When a finding matches an action policy set to Break the Build, the scan exits with code 128 and the pipeline job fails. To turn that failure into a merge gate, add a build validation policy that requires the pipeline. See Block merges for PR scans run from Azure Pipelines to configure the branch policy.Download and use endorctl in Azure pipeline
You can also choose to set up your pipeline to download endorctl and scan using Endor Labs without using the Azure extension.Configure Endor Labs variables in the pipeline
You can manage Endor Labs variables centrally by configuring them within your Azure project. You can assign these variables to multiple pipelines.- Log in to Azure and select Pipelines > Library.
- Click +Variable Group to add a new variable group for Endor Labs.
- Enter a name for the variable group, for example,
tenant-variables, and click Add under Variables. - Add the following variables.
ENDOR_API_CREDENTIALS_KEYENDOR_API_CREDENTIALS_SECRETNAMESPACE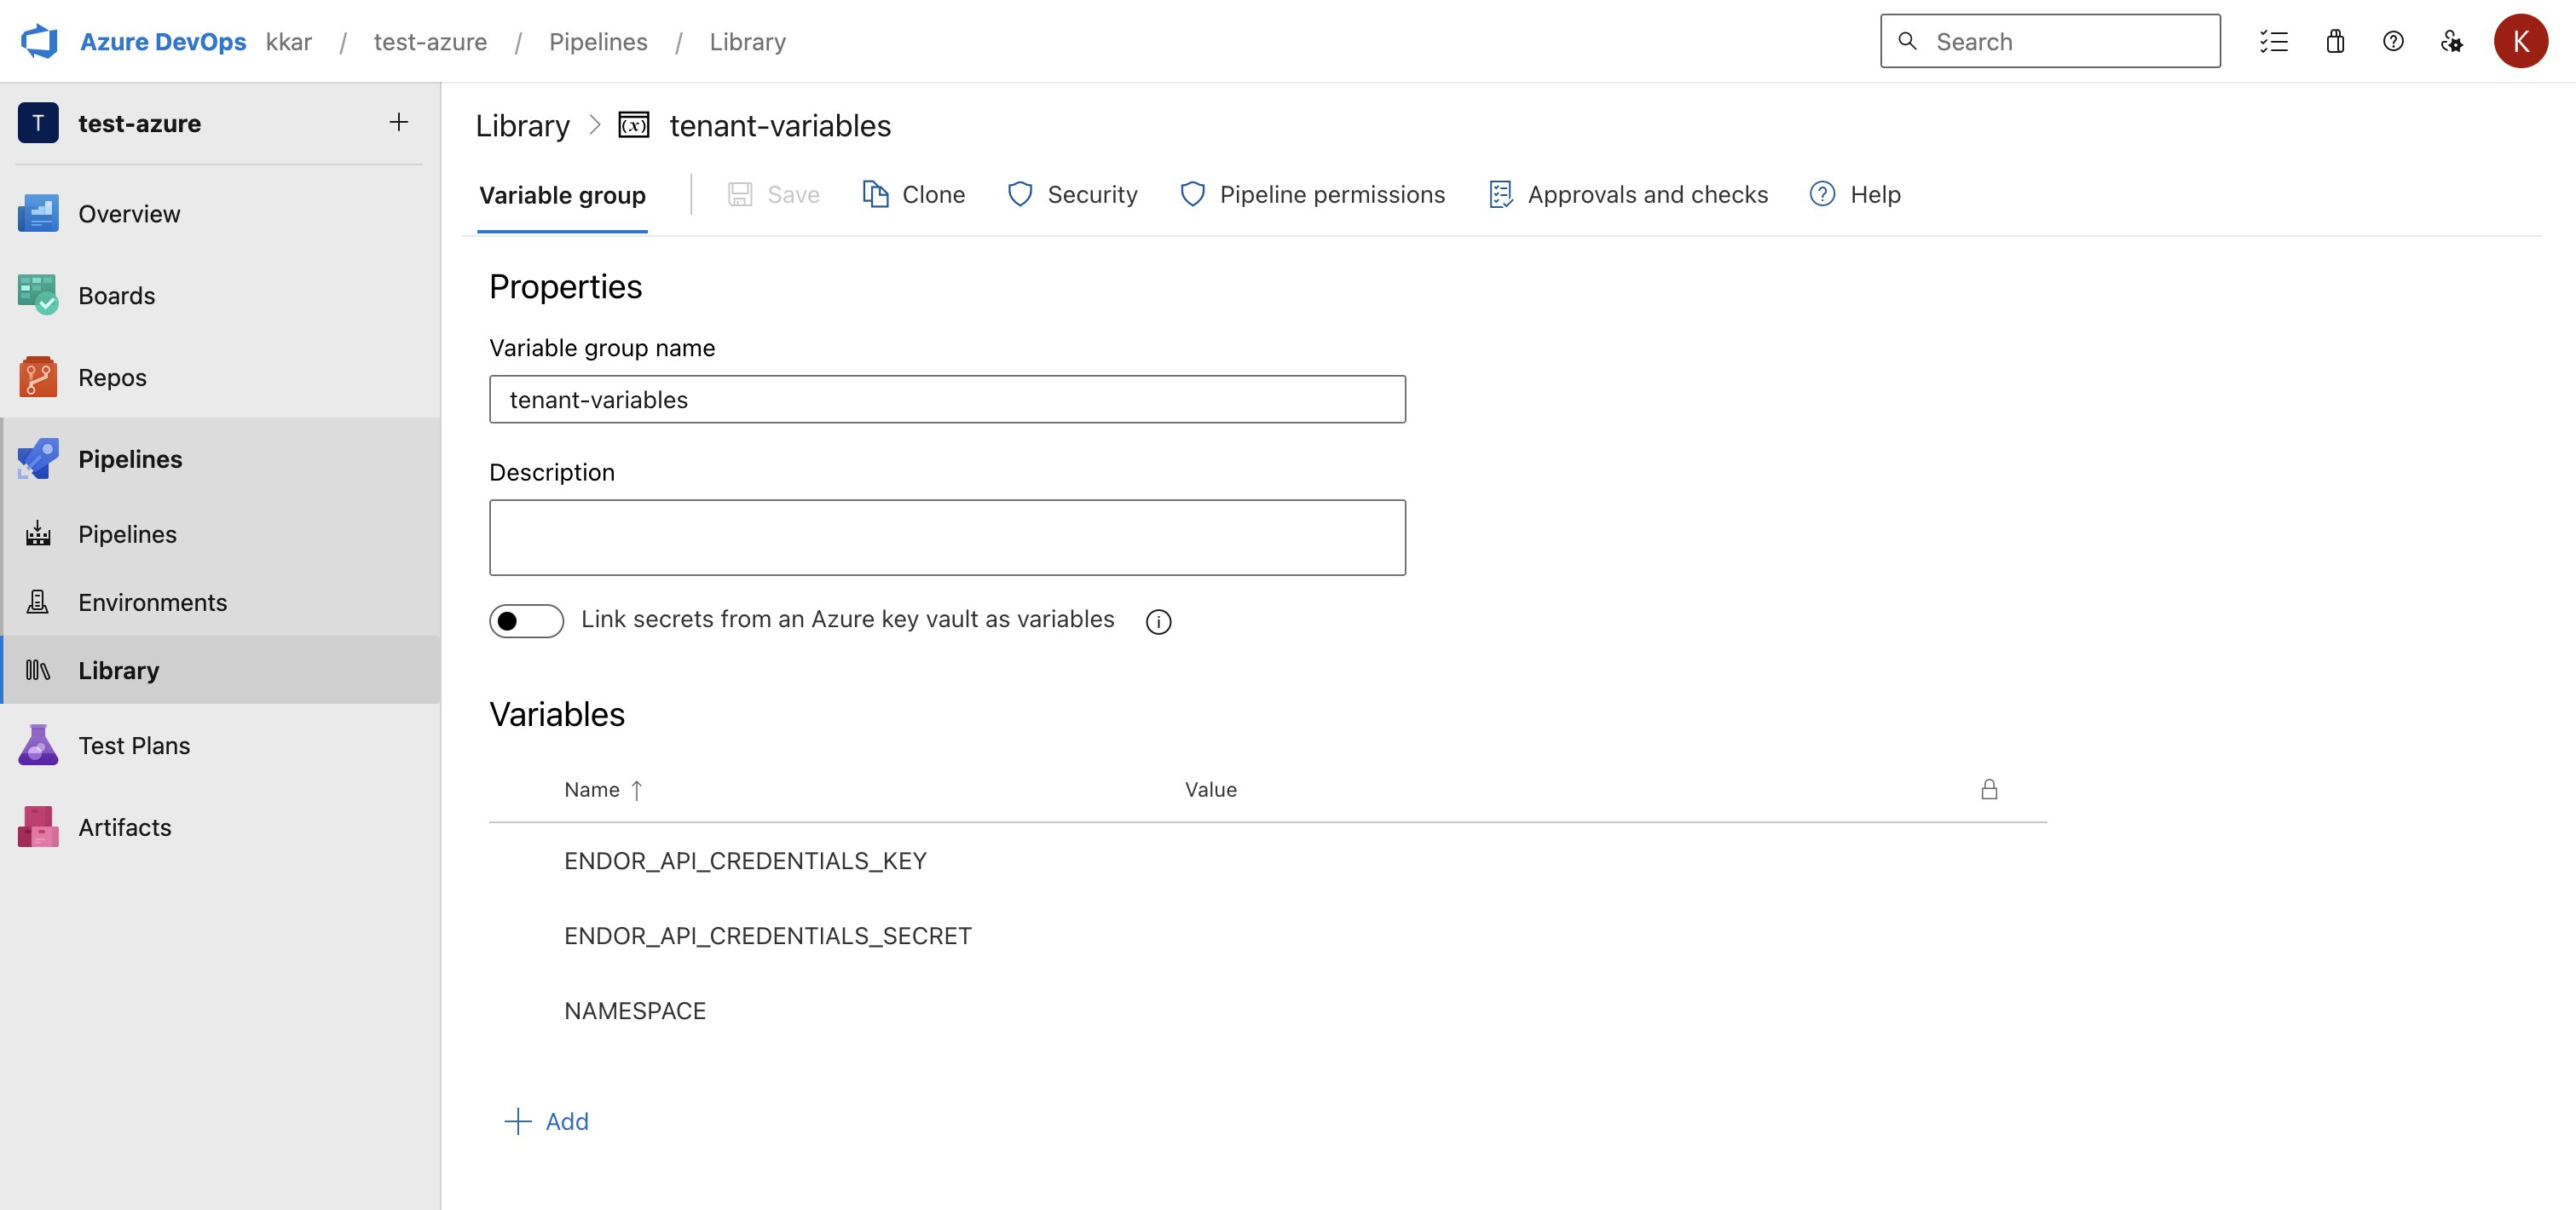
- Select the variable group that you created.
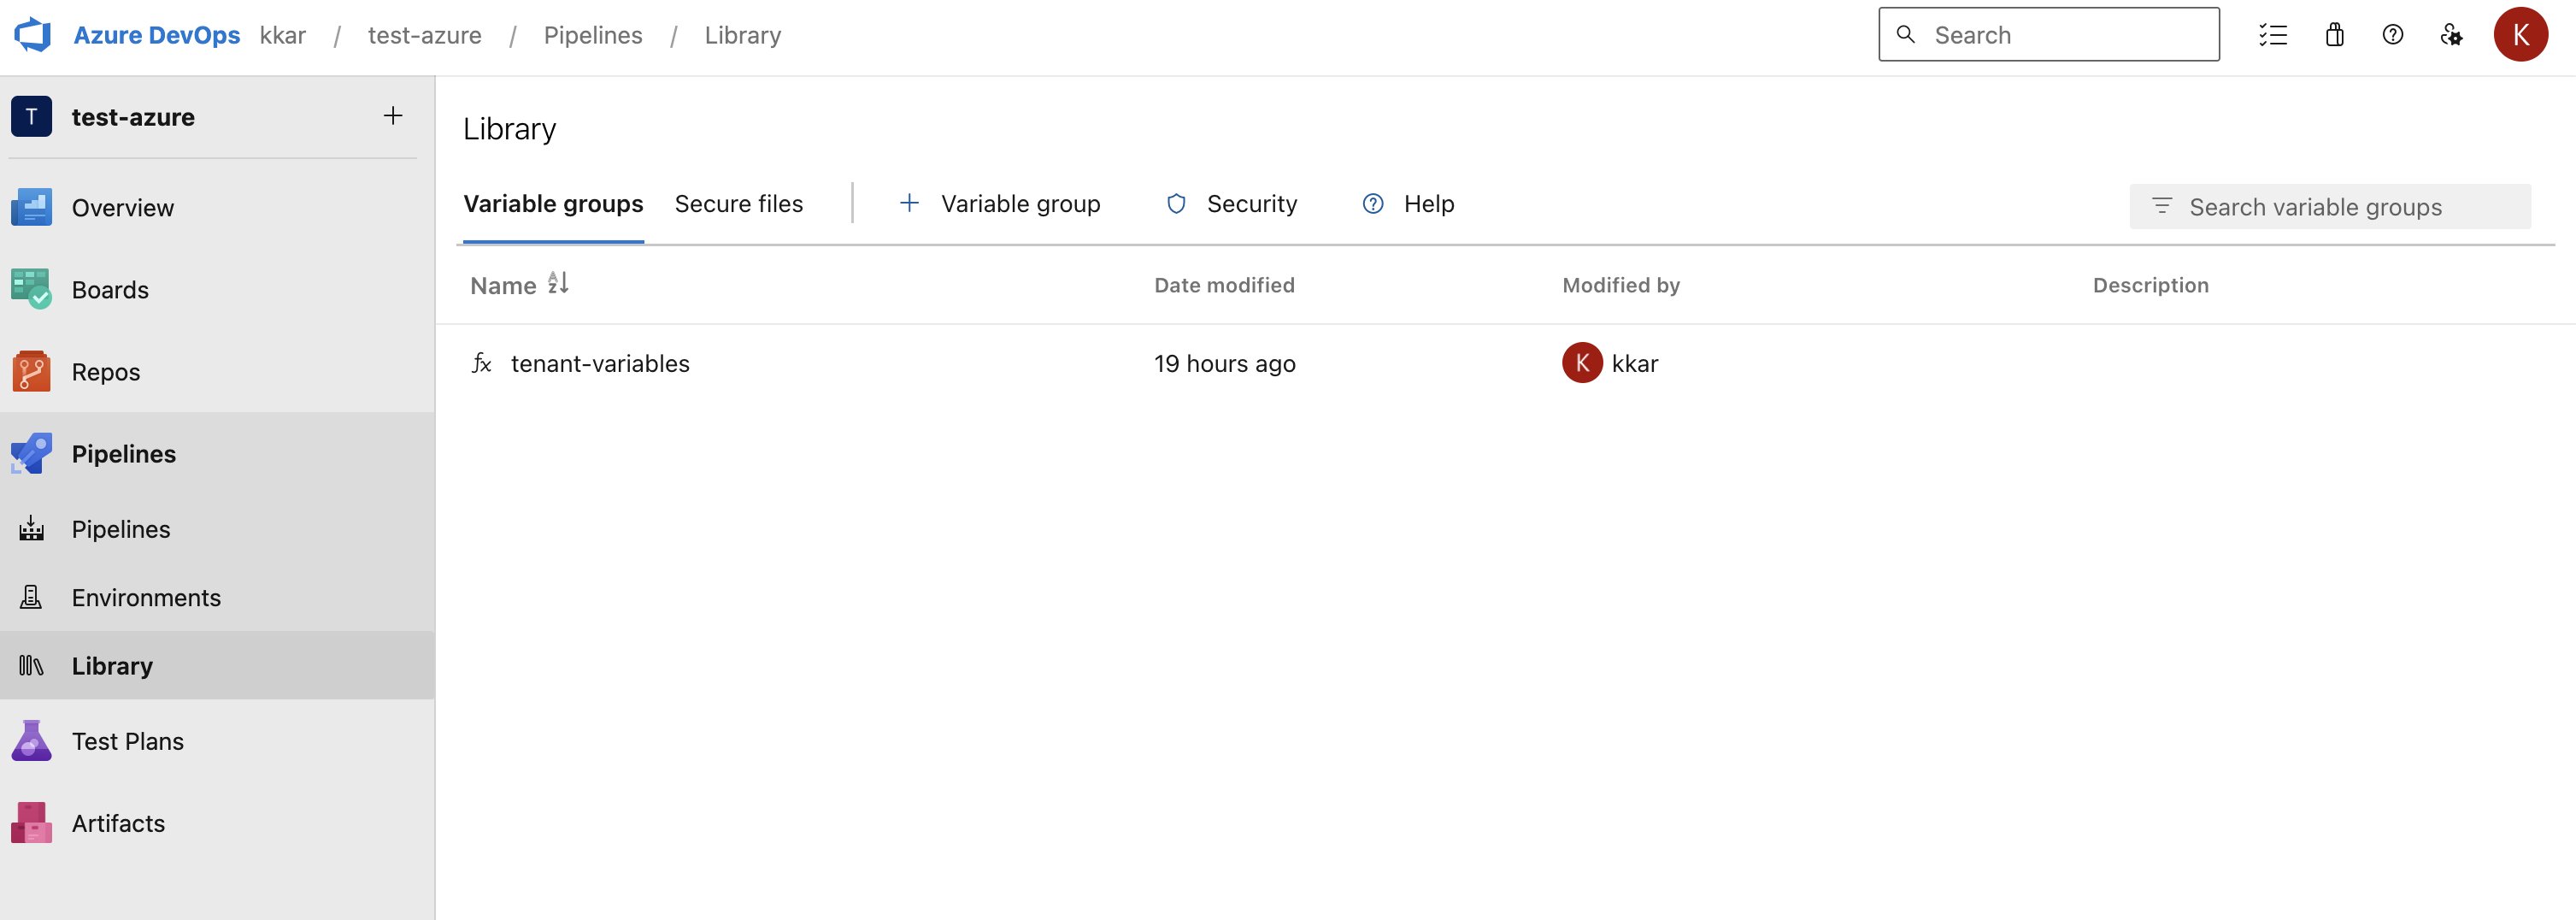
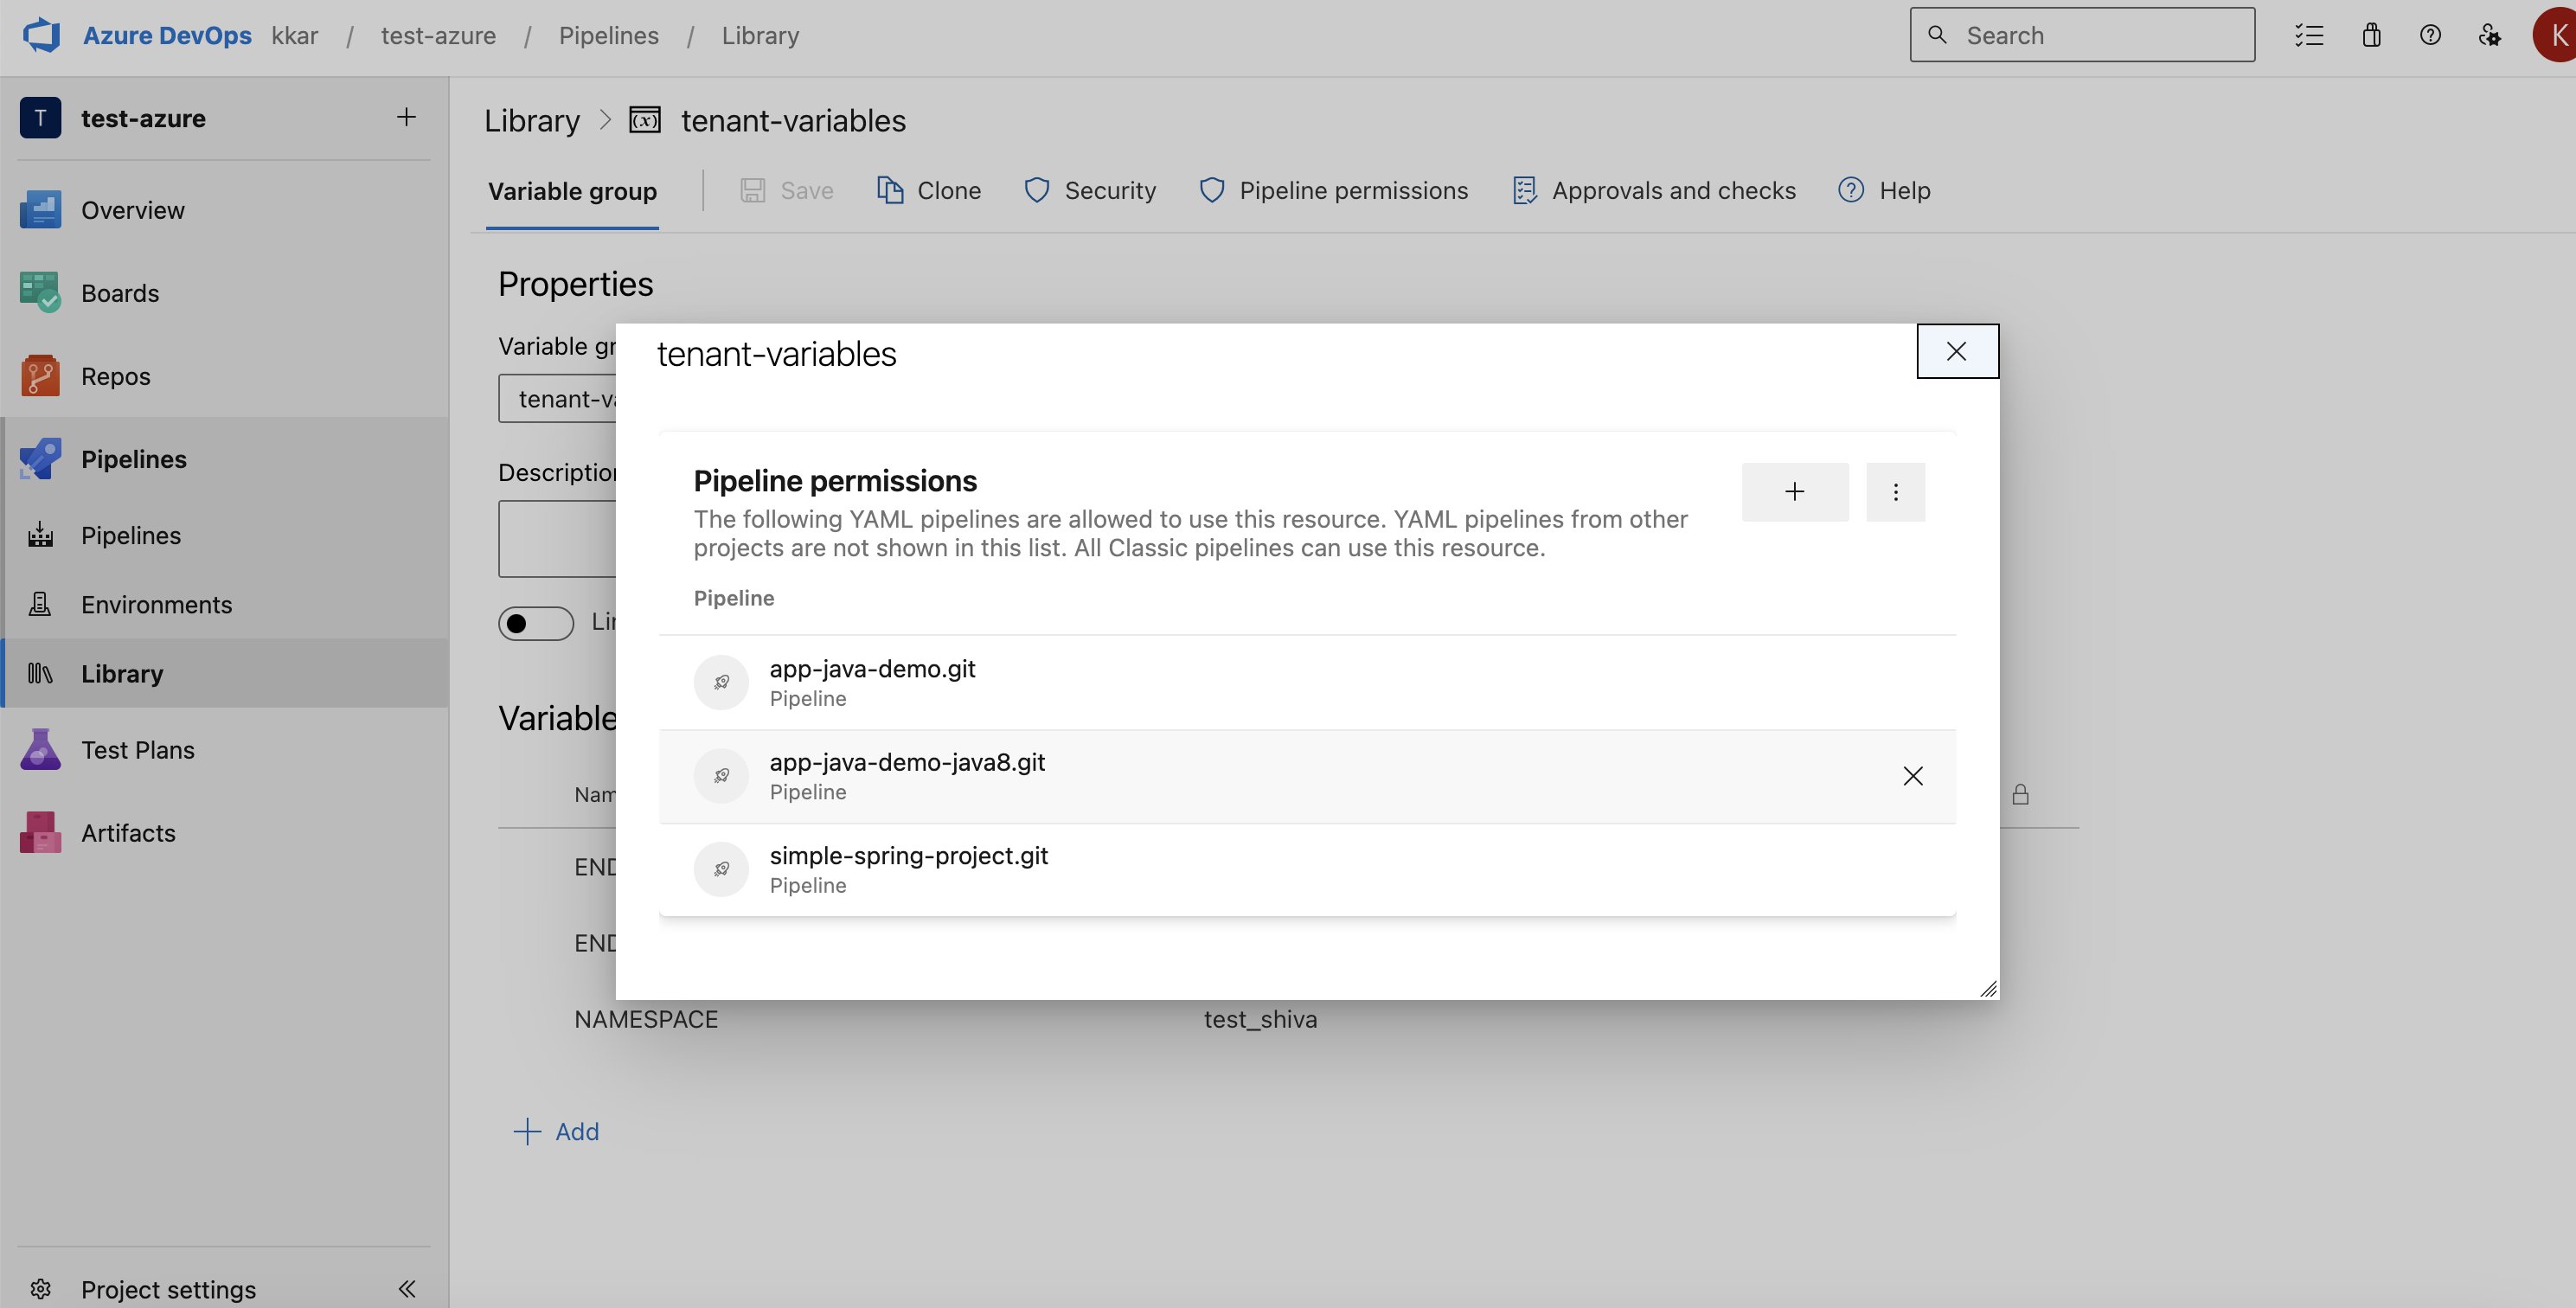
- Click Pipeline Permissions.
- Click + to add the pipelines in which you want to use the variable group.
Configure your Azure pipeline
-
Create
azure-pipelines.ymlfile in your project, if it doesn’t exist. -
In the
azure-pipelines.ymlfile, customize the job configuration based on your project’s requirements. -
Adjust the image field to use the necessary build tools for constructing your software packages, and align your build steps with those of your project. For example, update the node pool settings based on your operating system.
- Windows
- Ubuntu
- macOS
- Update your default branch from main if you do not use main as the default branch name.
- Modify any dependency or artifact caches to align with the languages and caches used by your project.
-
Enter the following steps in the
azure-pipelines.ymlfile to download endorctl.- Windows
- Ubuntu
- macOS
- Enter the steps to build your project if your project needs building and setup steps.
-
Enter the following step in the
azure-pipelines.ymlfile to run endorctl scan to generate the SARIF file. You can run endorctl scan with options according to your requirement, but you must include the-soption to generate the SARIF file. For example, use the--secretsflag to scan for secrets.- Windows
- Ubuntu
- macOS
-
Enter the following task in the
azure-pipelines.ymlto publish the scan results.After a successful run of the pipeline, you can view the results in Azure.
Azure Pipeline Examples
- Windows
- Ubuntu
- macOS
Set up branch tracking in Azure Pipelines
In Git, a detached HEAD state occurs when the repository checks out a specific commit instead of a branch reference. In this state, Git points the HEAD directly to a commit hash, without associating it with a named branch. As a result, actions performed, such as creating new commits or running automated scans, do not carry branch identity unless explicitly specified. Proper branch context enables Endor Labs to:- Associate scans with the correct branch
- Identify scans on the monitored default branch
- Track findings and display metrics accurately across branches
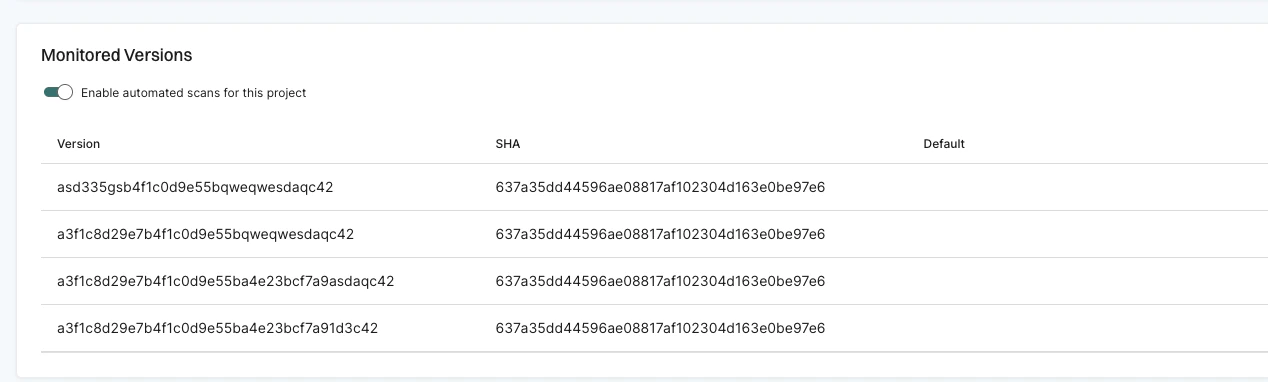
Automatic branch tracking
When you use the Endor Labs Azure extension, branch tracking is automated. TheenableDetachedRefName parameter is set to true by default, which automatically detects the branch name from your Azure pipeline and appends the --detached-ref-name flag during scans. This ensures that scans display the actual branch name instead of the commit SHA.
enableDetachedRefName to false.
Manual branch tracking with endorctl
When you use endorctl, specify the branch name using the--detached-ref-name flag.
Use --detached-ref-name only to specify the branch name for a commit in detached HEAD state. This associates the commit with the correct branch without setting it as the default branch.
--detached-ref-name and --as-default-branch together when you want to associate the commit with a branch and set it as the default branch scan.