Remediation policies define the conditions for applying remediation to a finding when an upgrade is available that fixes the finding.Documentation Index
Fetch the complete documentation index at: https://docs.endorlabs.com/llms.txt
Use this file to discover all available pages before exploring further.
Manage remediation policies
You can view, enable, clone, disable, edit, or delete your Endor Labs remediation policies.- Sign in to Endor Labs and select Policies & Rules from the left sidebar.
- Select Remediation Policies.
- Use the search bar to search for a policy or click Create Remediation Policy.
- Enable or disable a policy using the toggle.
- To delete a policy, click the vertical three dots and select Delete Policy.
- To edit a policy, click on the vertical three dots and select Edit Policy.
- To clone a policy, click on the vertical three dots and select Clone Policy.
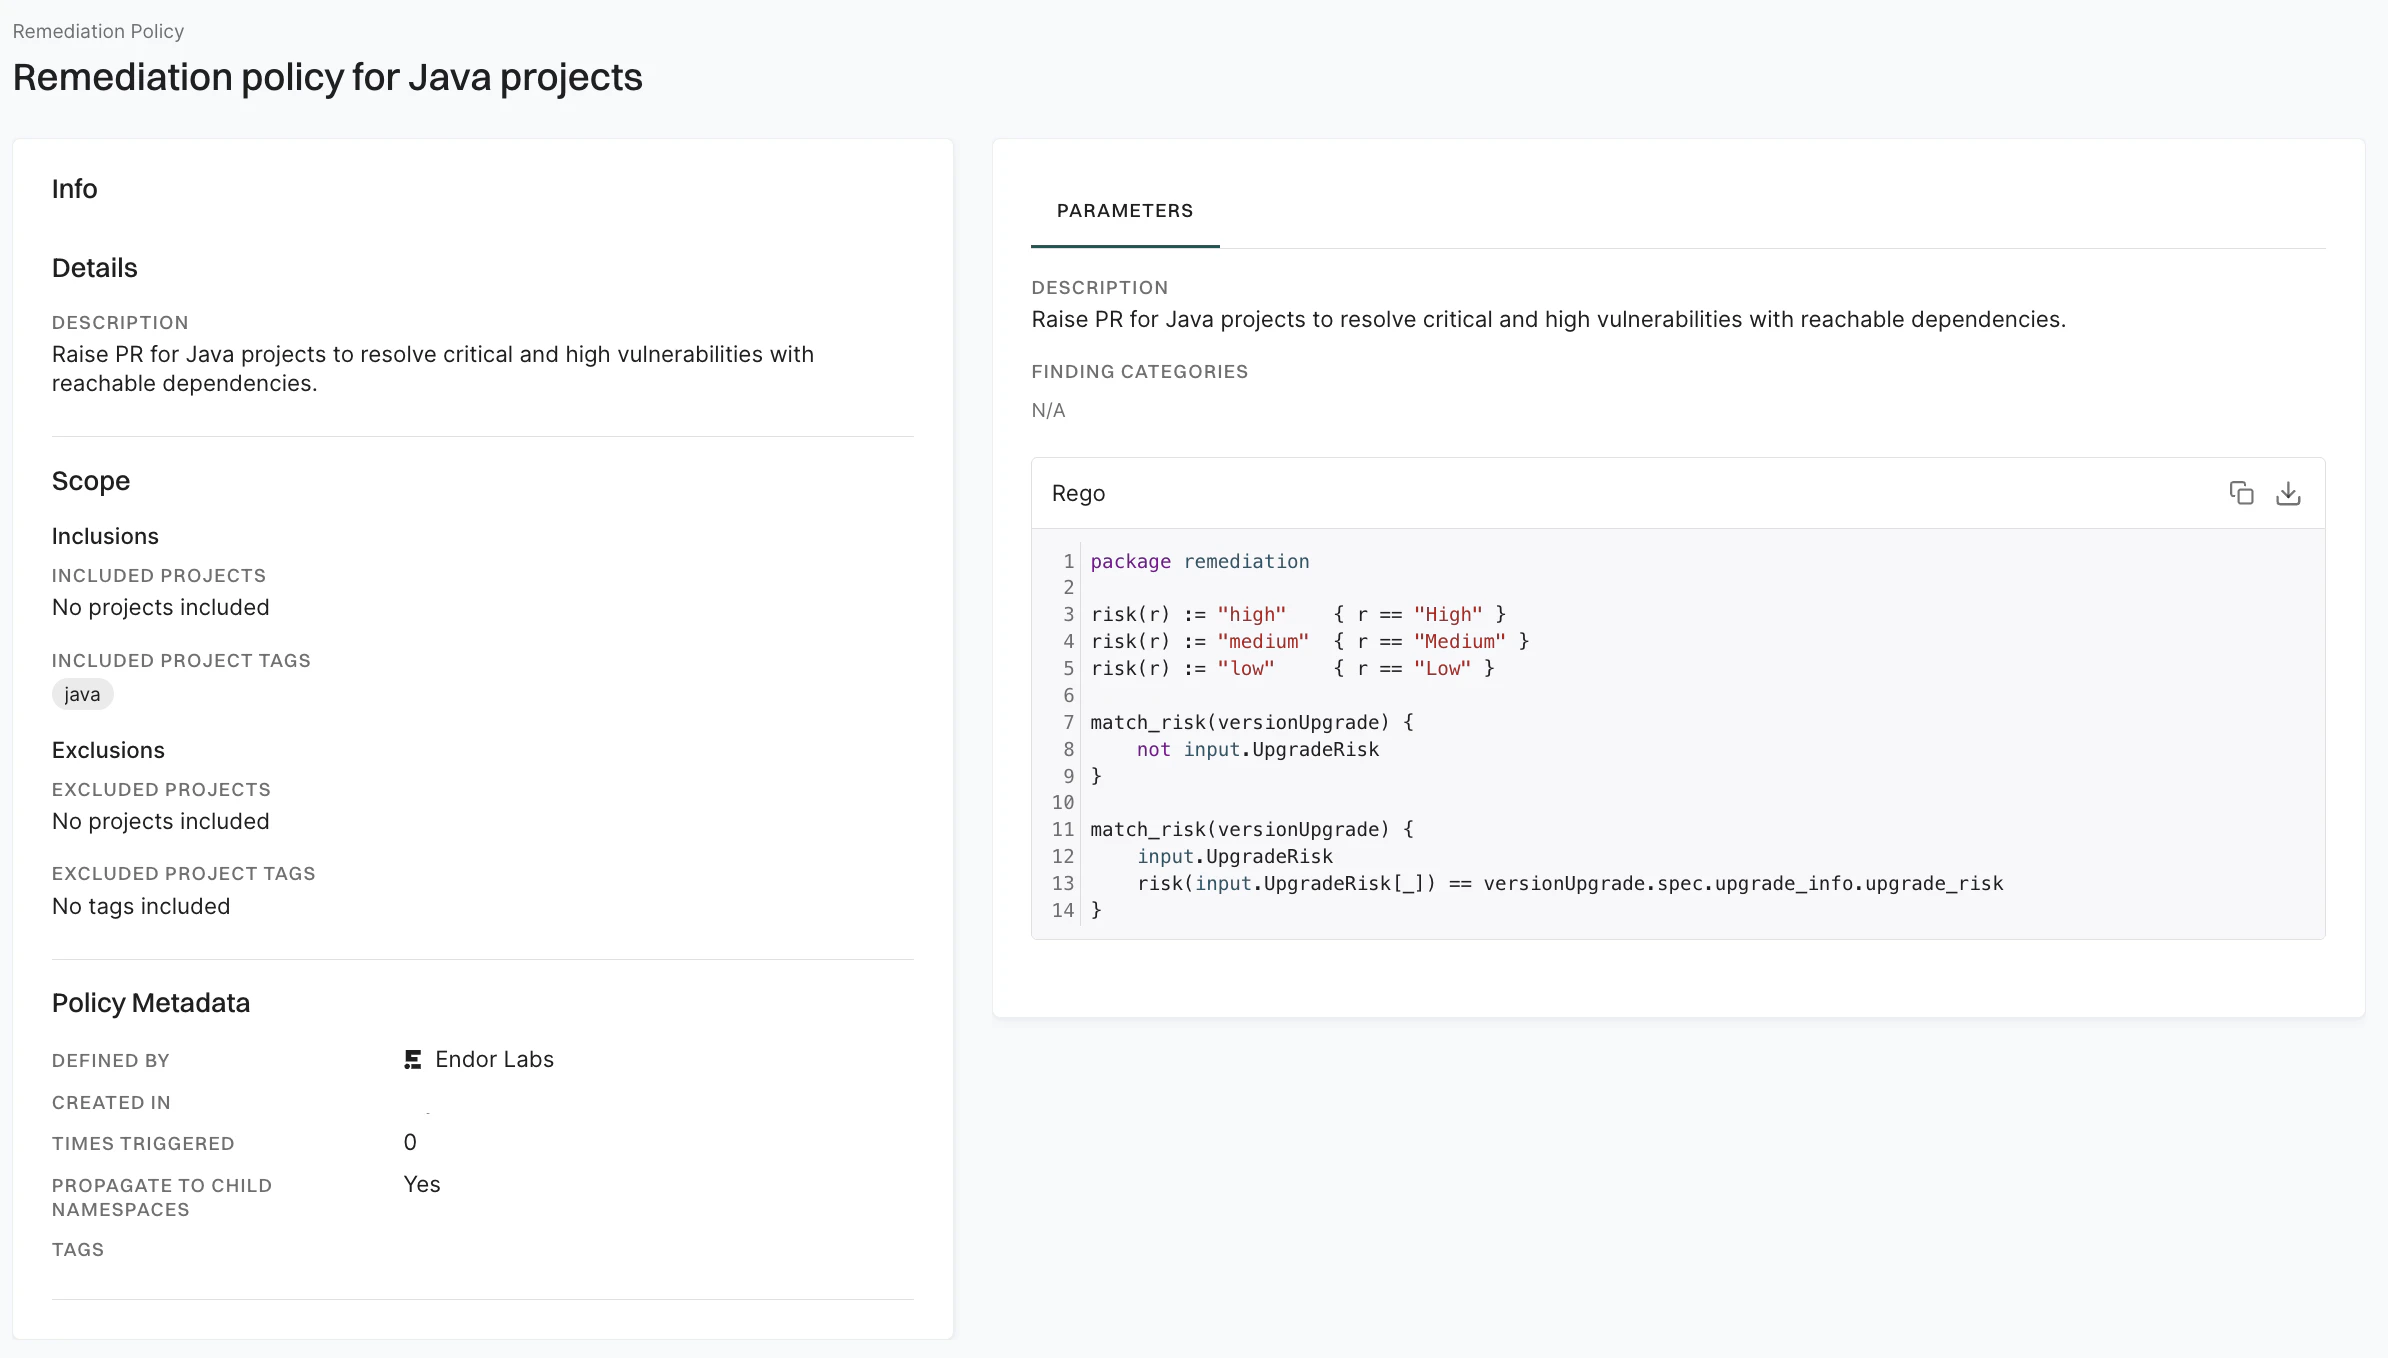
View policy details
- Sign in to Endor Labs and select Policies & Rules from the left sidebar.
- Select Remediation Policies to view the list of remediation policies.
-
Select a policy you want to review and click View Details.
You can see the policy’s description, scope, and metadata. You can review the severity, finding categories, explanatory details, remediation steps and the Rego rules that implement the policy logic.
Create a remediation policy from a template
You can create a remediation policy in Endor Labs to address a finding when specific conditions are met.- Sign in to Endor Labs, and select Policies & Rules from the left sidebar.
- Click on the Remediation Policies tab.
- Click Create Remediation Policy to create a new remediation policy.
- Select a policy template. Currently, you can choose Recommended Version Upgrades for Vulnerabilities.
-
Next, choose the template parameters.
- Upgrade Risk: The acceptable level of risk that a breaking change might occur with the upgrade.
- Severity: Match upgrades that would fix findings with a particular severity.
- Exclude Test: Select Yes to exclude version upgrade recommendations for fixing findings in test dependencies.
- Dependency Reachability:: Match upgrades that address findings with the following level of dependency reachability.
- Reachable dependency
- Unreachable dependency
- Potentially reachable dependency
- Function Reachability: Match upgrades that address findings with the following level of function reachability.
- Reachable function
- Unreachable function
- Potentially reachable function
- Minimum Number of Findings: Only match upgrades that resolve a minimum number of findings equal to or greater than this value.
- Select a notification target to be associated with the remediation policy. See Integrations for more information on creating notification integrations.
-
You can Assign Scope to the remediation policy by specifying what projects the policy has to scan.
- In Inclusions, enter the projects and the tags of the projects that you want to scan.
- In Exclusions, enter the projects and the tags of the projects that you do not want to scan. Exclusions take precedence over the inclusions, in case of a conflict.
- Click the link to view the projects included in the remediation policy scan.
- Click Add project tag to these projects and enter a tag for the selected projects. Click Save Tags to apply it or Reset Tags to discard changes.
- You can set custom tags for your projects from Projects > Settings > Custom Tags. See Tagging projects for more information about creating project tags.
-
Finally, you must Name Your Remediation Policy.
- Enter a human-readable Name for your remediation policy.
- Enter a Description for your remediation policy that explains its function.
- Enter any Policy Tags that you want to associate with your policy. Tags can have a maximum of 255 characters and can contain letters, numbers, and characters = @ _ -.
- Advanced: When you define a policy, it applies to the current namespace and all its child namespaces. To prevent the policy from being applied to any child namespace, click Advanced and deselect Propagate this policy to all child namespaces.
- Click Create Remediation Policy. The policy is enabled by default.
Rescan the project to apply the newly created remediation policy and update the findings.